

More Building Science


This article is Part 5 in a series (links to all articles in the series are at the end of this post) on retrofitting fossil fuel furnaces with ducted heat pumps. So far, we’ve done the homework: collecting data, calculating heat loads, and selecting equipment. Today, we take action. We’ll send a fossil-fuel-burning dinosaur to the scrap yard. In its place, we’ll install an all-electric system that will dramatically cut our customer’s carbon footprint. If we’re displacing an expensive delivered fuel like propane or fuel oil, we’ll be cutting their energy costs. And, by upgrading filtration and eliminating combustion, we may also improve their indoor air quality.
What you’ll read here is intended as an overview of the steps in an installation. The work must be done by technicians with the necessary training and mindset. Electrical work, done incorrectly, can lead to fire or shock. Faulty refrigerant connections can lead to early equipment failure and environmental harm. Even condensate piping, done wrong, can lead to thousands of dollars in water damage. Attention to detail—and adherence to the manufacturer’s instructions, relevant codes, and best practices—can make the difference between a successful installation and a nightmare.
Planning workflow
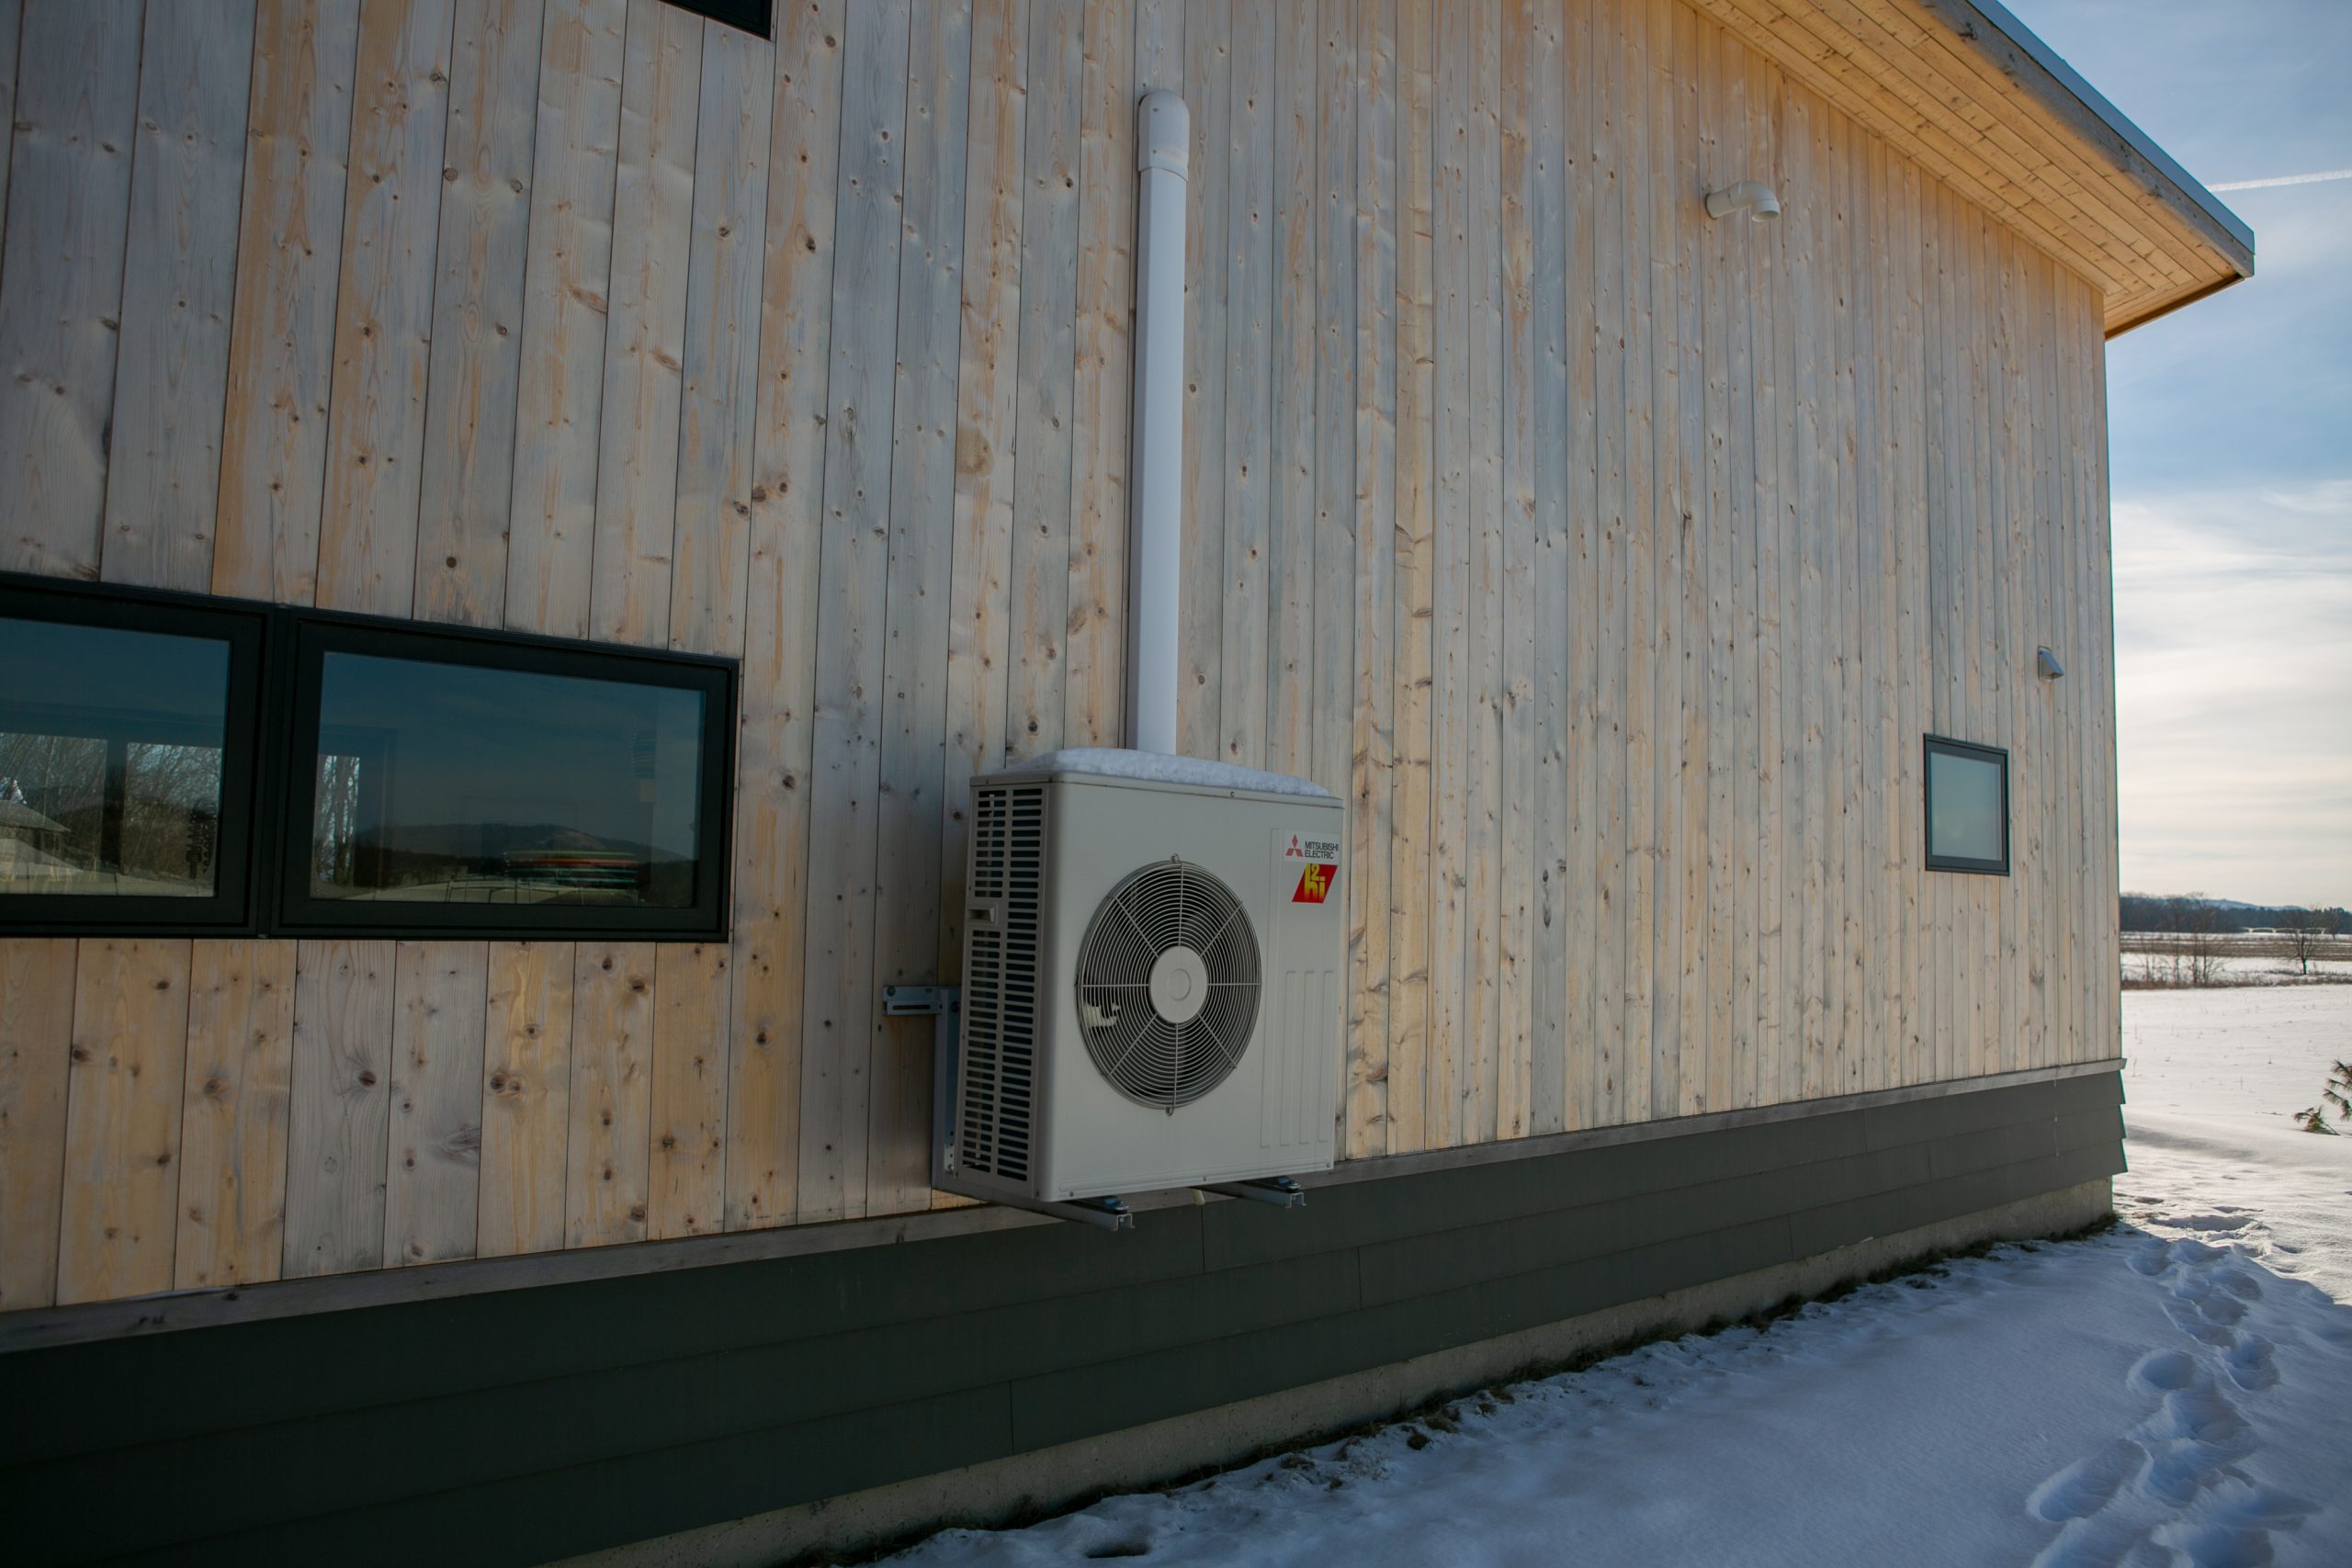
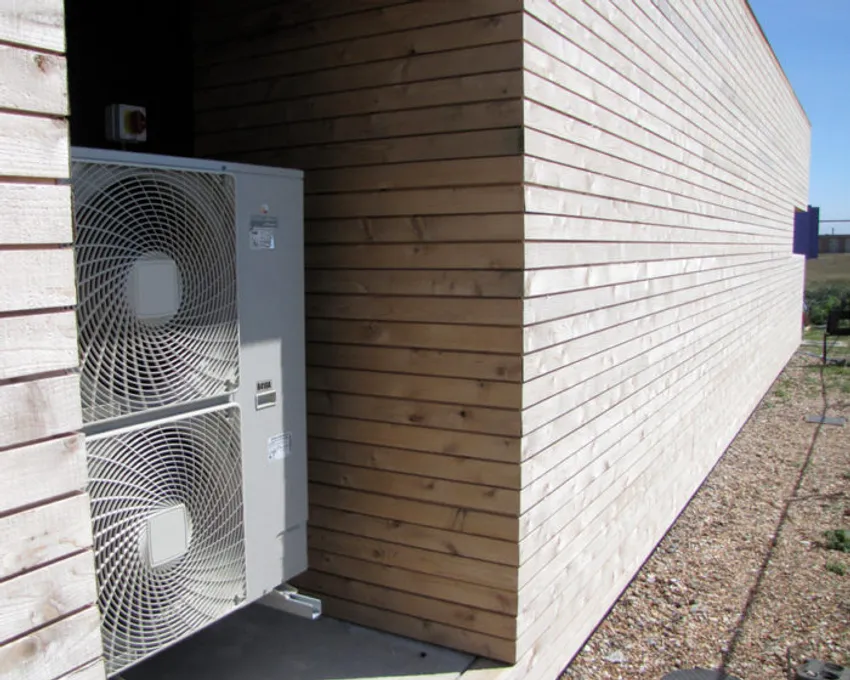
I’ve found that a furnace-to-heat pump retrofit is typically a two-to-three-day installation. If the retrofit takes place during mild weather, or if the customer has a backup heat source like a wood stove, the workflow should seek to maximize labor efficiency, even if that means taking the central heat offline overnight. But if the retrofit takes place in the depths of winter, the focus needs to be on minimizing the time without heat. When that’s the case, I try to do as much as possible before taking the old heating system offline. The outdoor unit…
Weekly Newsletter
Get building science and energy efficiency advice, plus special offers, in your inbox.

This article is only available to GBA Prime Members
Sign up for a free trial and get instant access to this article as well as GBA’s complete library of premium articles and construction details.
Start Free TrialAlready a member? Log in


4 Comments
Lots of great advice here, thanks again Jon.
I notice the install photos don’t show duct insulation on supply ducts and there’s no mention of it in the text. This would be necessary to avoid condensation in cooling mode I’d assume. Also the 2 to 3 day time frame doesn’t include that additional work. In my experience duct insulating might add another couple of man days and can really complicate these projects. Did I miss something? Maybe you are locking out the cooling function in the thermostat and only using the system in heating mode?
I’ve had the thought that swapping in a heating only ducted system and adding an additional one-to-one ductless upstairs that can handle heating + cooling might work well for certain floor plans in this upstate NY climate. The savings on a smaller capacity ducted unit and the avoided cost on the duct insulation would partially pay for an additional head. Plus the combined lower turn down would be an advantage.
(Actually I’m just working on a sales strategy that’ll keep me from having to go near that awful fg duct wrap ever again….)
Thanks, Norman. That's a great point about the duct insulation. We are typically installing air handlers in conditioned or semi-conditioned basements, and we're just not finding that the sheet metal is falling below dewpoint. We are usually recommending basement dehumidification, mainly to preserve wood and prevent biological growth, and this definitely seems to help with condensation prevention on the ductwork as well.
When we are installing ductwork in an unconditioned space, insulation is a must. Because the fiberglass stuff is so labor intensive to install correctly, when we can we bring in a high-pressure foam crew. This gives good R value with additional benefits of sealing and vapor impermeance.
Agreed about the benefits of additional 1:1 for the upstairs. I really like this strategy for some floor plans.
We have already had the above scenario -- retrofit of a ducted system, and unfortunately we did not do everything in this article. In particular, we have the heat pumps outside our second floor bedroom, and though they are quiet systems, they still bother us at night. Besides moving them, which is not a real option for us -- what other options are there? Are there any? Thanks so much!
There are a few things you can look into.
--Does the length of lineset between the indoor and outdoor units meet the manufacturer's minimum? If not, you may have excess bubbling/gurgling refrigerant noise.
--I'm assuming it's mounted on wall brackets. Are the brackets securely lag-bolted into the studs, especially on the right (compressor) side? Are there thick rubber washers under the feet of the outdoor unit?
--Does the heat pump have a "night quiet mode" that reduces capacity but provides quieter operation. I know this is a feature on some LG heat pumps.
I would get your installer out there to evaluate; they may be able to determine by the sound what's the best thing to try.
Log in or become a member to post a comment.
Sign up Log in