RE: How to Build an Insulated Cathedral Ceiling
Saw your post referenced above and Peter Yost’s “How to Insulate an Unvented Roof” last week.
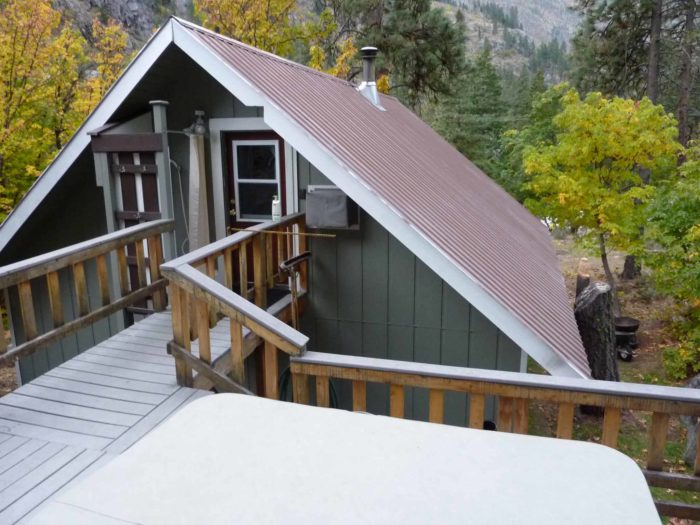
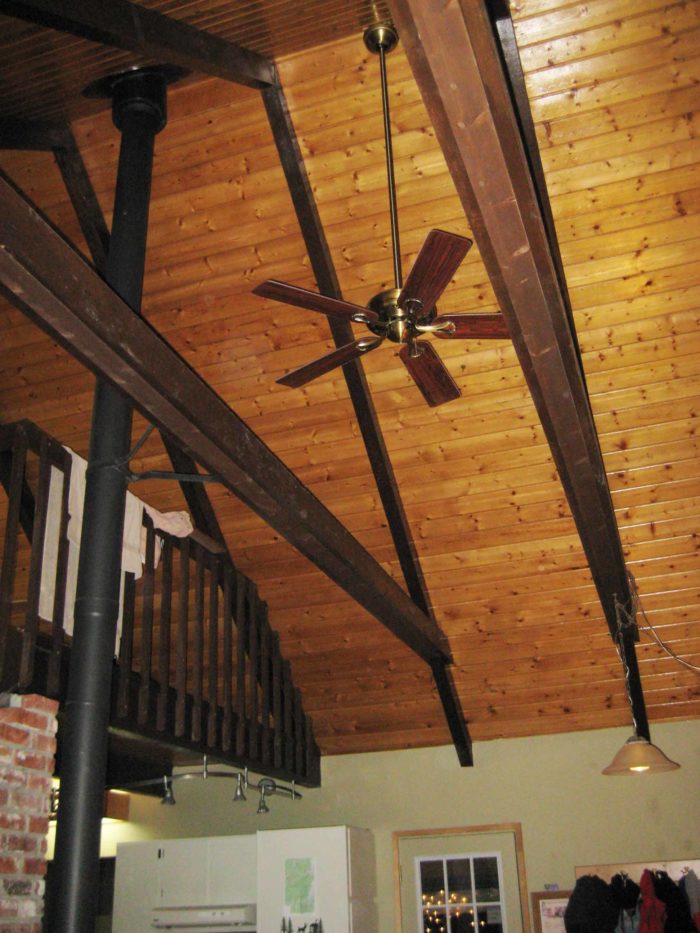
I have a situation similar to the detail presented in the referenced presentation but came away with a variant solution that I would be interested in your comments. I have a 1980 chalet that has an exposed grommet metal roof over 1/2″ polyiso over 2×6 T&G on 4×6 @4′ o.c. with an 11/12 pitch that needs to be replaced. I am in Leavenworth, Wa, zone 5. Some photos attached. The loft has no head room for insulation on the interior so all the insulation (planning 7.5″ EPS) must be on the exterior. Using Joe’s “perfect wall: best place to control this air thing is on the outside of the structure—but under the insulation layer so the air does not change temperature” and my bumpy substrate restriction (2×6 T&G v-notch so no “wet flash”) I plan on using Carlise’s WIP 100 which will seal all of those long Trufast SIP fasteners. Since these require 1″ minimum embed I didn’t understand how you could use 3/8″ sheathing in your example detail.
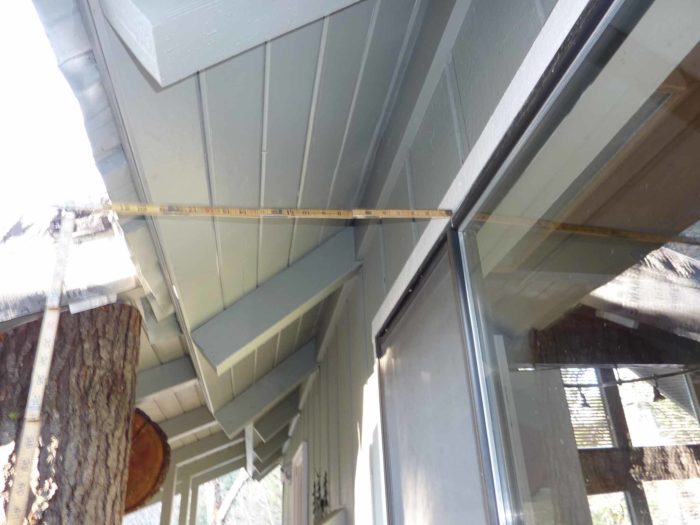
Advice on the number of fasteners per 4×8 sheet of OSB varies greatly from 8 to 24, what is your take with an 85mph wind and 85# snow load and 11/12 pitch? Staggering the joints and insulation layers sounds great in theory but considering installation difficulties and cost with an 11/12 pitch, I was leaning towards glued and staggered joints with just one layer. What, if any, performance hit will that yield with a WIP layer underneath? With a 1# EPS foam, I go back and forth on the thickness 1/2″ vs. 5/8″ over concerns over the flatness and ease of over driving the fasteners to create a roller coaster (one metal roof manufacturer specs expect <1/4″ over 20′ !). One manufacturer recommends fender washers with fasteners. Your opinion? I am concerned with creating potential rubbing wear on metal roof with expansion/contraction movement over “proud” fasteners (the washer prevents slight embed into OSB and thus making them proud). What size gap would you leave between the OSB sheets, 1/8″? I was then planning on using either Feltex or Titanium UDL 30 then a 16″ standing seam metal roof with striations to help minimize the noise. I am going with a white to maximize reflectivity since we can get some 100F+ days in summer. Currently at the eave there is no fascia (see eave photo), so I was planning on using a 2×10 perpendicular to the slope fastened to 2-2×4’s parallel to the slope (extra height of 2×10 covers edge of existing T&G decking) and a 2×8 next to the insulation so I create a box. Do you think this is overkill? Do you think I need to create a 3/16″ gap below this box to allow for any moisture between the WIP and OSB to drain out? Do you think there will be moisture trapped between the Feltex/OSB and WIP? Part of the reason that I don’t want a vent under the metal roof is the noise chamber that it would create. Right now the roof deck is constantly creaking with temperature changes in the summer (hopefully stopped with 7.5″ of insulation) and snow bombs from trees keeping us up at night from trees/wind (now gone due to fire insurance). With no vent, do you see any issues with roof durability? Thanks for your opinions.

GBA Detail Library
A collection of one thousand construction details organized by climate and house part


Replies
C.P.,
You have lots of questions. I'll try to address a few of them.
I'm not familiar with Carlisle WIP 100, but it looks like a peel-and-stick membrane similar to Grace Ice & Water Shield.
You ask about using 3/8 inch sheathing. Who made that recommendation? That certainly sounds too thin to me.
Please start with the basics: what is your planned assembly? I think I understand, but your details are scattered throughout your long post. Is this it?
1. Remove existing roofing.
2. Install a continuous layer of peel-and-stick membrane over the existing sheathing.
3. Install 7.5 inches of EPS rigid foam on top of the peel-and-stick.
4. Then what? 2x4 purlins? A layer of plywood? Something else?
5. Standing-seam metal roofing installed over synthetic roofing underlayment..
Please confirm that I understand your plan, and please explain step #4.
Sorry for the confusion. WIP 100 is a lower cost peel and stick membrane (not as flexible as Grace)..
The 3/8" was in the detail from Peter's article.
Yes to steps 1,2,3 and for 4, use an 1/2" or 5/8" OSB (concerned about flatness and gap between sheets) on top of the EPS fastened with the long Trufast screws (numbering 8-24 ?? per 4x8 sheet of OSB) to the 2x6 T&G decking.
C.P.
You should consult an engineer to determine the number of fasteners for your OSB. I think you should choose 5/8" OSB over 1/2" OSB.
If you are using Trufast SIP fasteners to fasten your OSB, I see no reason why you would need fender washers.