Attachment of chimney cap
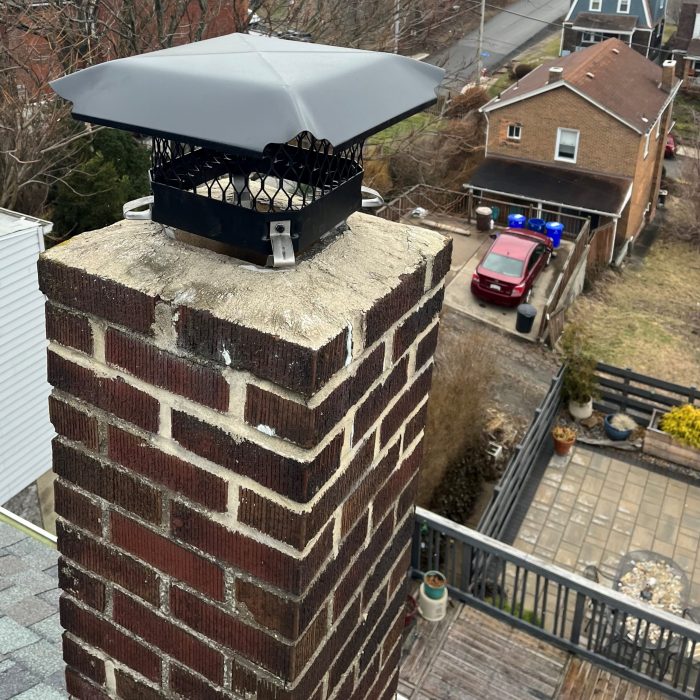
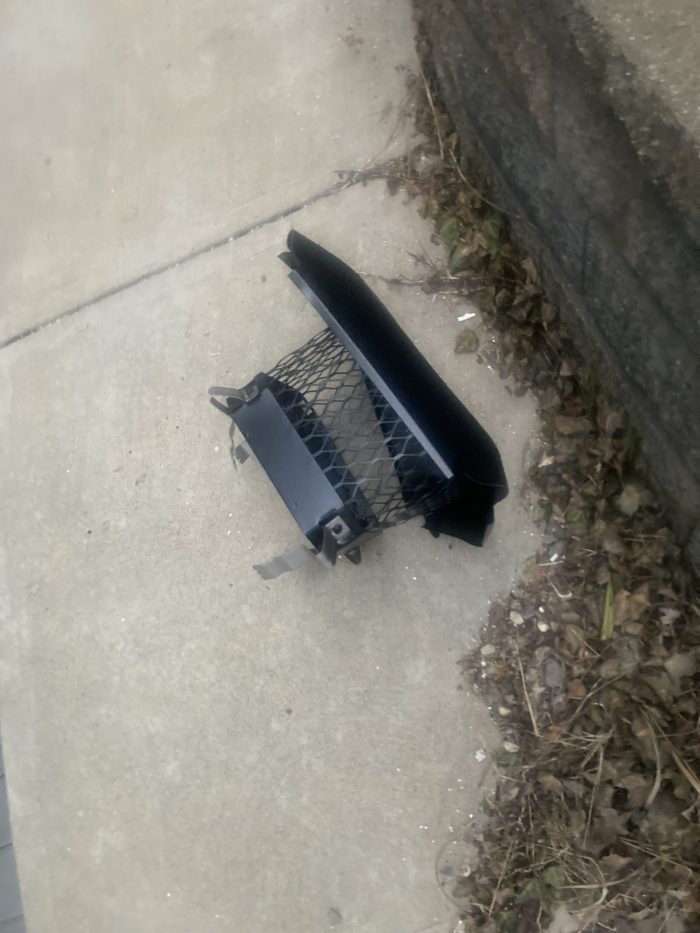
Hi. I’m trying to figure out what is going on here. Any thoughts would be valued as I don’t have any experience to go on. There was a bad wind storm a few nights ago. This was the final item on a reroofing project, installed on Jan 26.
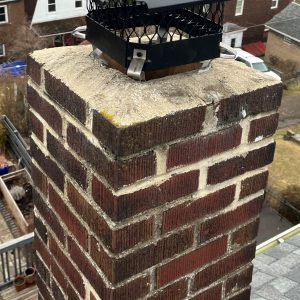
The chimney vents my water heater. The flue tile is flush with the crown so I can see it’s a difficult install but is it so difficult that this is the only way to do the job? The rep I spoke to said the legs were secured by a metal band. I must have misunderstood since I can’t see anything like that in the photos. Is it meant to stay in place just under tension alone?
This is a large commercial roofing company with a smaller residential division. Their field supervisor is going to come out early this week, possibly Monday. I am at a loss, this could have killed somebody.
I’d appreciate any feedback. Thanks!
GBA Detail Library
A collection of one thousand construction details organized by climate and house part


Replies
The metal caps I've installed have tabs with screws that lock them to the chimney liner extension, similar to how many light fixture glass shades are attached to the fixture base, or how Christmas trees are usually secured to their bases. Just last fall I added a similar metal cap at my house, except the mason had made the chimney cap--the cement wash coat--flush with the top of the flue liner, so I bought a new liner, cut off a couple of inches and mortared it in place so the metal cap had something to grab onto.
Just thinking about it, I had the idea why don’t we remove 1 or 2 rows of bricks, redo the crown, so leaving 2-4 inches of exposed flue liner to attach the cap. It’s the opposite of your solution but which is better?
Either way, I think the roofer will want to repeat their previous approach but “do it right this time”. That’s my gut feeling about these guys. And if they do want to do the same thing, I worry that I’ll never be able to trust their work.
I think it's much easier to cut and set a single short length of flue than to remove and build up a course of bricks. Once I had the materials, it took me about 20 minutes to set up, mix the mortar, cut the flue and set it. Then after 30 minutes I struck the joints and attached the metal cap.
Thanks for your help.
Michael,
My next door neighbour's brother-in-law is a mason, so inevitably he ended up with a three story stone and brick chimney about six feet square, with no cap. The first hour their wood stove is on it seeps thick, white smoke/steam. You can't see that comes out of our insulated metal one within 5 minutes.
Malcolm, that is interesting. And contains a building science truism: does a chimney/wall/other assembly need to be able to dry? Only if it gets wet!
Jmcnamara,
If it were me I'd have another larger cap fabricated that covered the mortar top, extended down the bricks several inches (where it could be secured), and had a throat on the top you could mount the existing cap to.
That is a better approach for sure. As you know, the wash coats most masons use as chimney caps don't do much in the way of waterproofing, and modern appliance exhaust often isn't hot enough to dry the chimney, resulting in moisture problems.
Following up with you guys, I have a local sheet metal fabricator who's coming to check the chimney, get measurements and give me an estimate. They also do the install. My wife has forbidden my doing anything on the roof so I'm going this route. Very much appreciate this discussion.
Also, the roofing Co. sent a couple of guys to attach a GAF version of the one that blew off but were going to drive fasteners in through the crown (with epoxy, not sure)? I described the methods suggested here, they said that these would be better but they weren't allowed to go beyond the leg-extension + fastener approach. Not blaming them, it seems that they were constrained by management.
Thanks for the suggestion Malcom. The first part of your strategy seemed very clear, but I am not sure I fully understand the second. When you say "the larger cap", do you mean a separate lower half that creates a structure on which a cap (similar to the one that blew off) attaches?
If I did understand you correctly, then a chimney cap fabricator would recognize this description I would think?
jmcnamara,
Yes, the lower cap would cover the whole chimney top and have hole in the centre with a vertical flange you could screw the cap you already have to. If you need access for maintenance, only the small covered cap comes off.
The fabricator will need the existing cap to size the flange on the new one it will attach to.
Thanks!