Methods to add 2x material to deepen rafter bays for insulation
I need to add a 2×6 edge edge to my current 2×6 rafters to accommodate r-38 or better insulation in my attic ceiling that will be finished with sheetrock after insulation.
There are a myriad of ways to do this from what I see and my question is around a good fastening methods. The best I like is to glue, toe nail and add 1/2 wooden gussets every 16 inches side to side on existing rafter however I dont like the gusset thickness as Im installing board t board air vents 2/5 inches off the roof sheathing and would have to cut around each gusset.
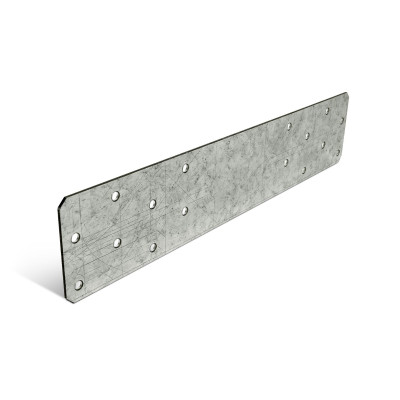
Glue edge, toe nail and use a Strong tie splice nail plate or thick strap every 16 inchs side to side (easier to add rigid foam air vent material)
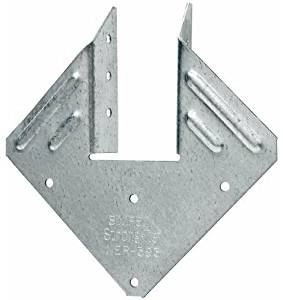
Lay the new 2×6 perpendicular to the existing 2×6, and secure with a strong tie hurricane tie both sides and space 2×6 every 16 inches. The metal ties seem like a good idea for less wood splitting than a toe nail although more work and maybe better rigidity (know they are good for lift prevention but dont now about twist)
Anyway, open for ideas on any of this but particularly the use of metal straps, ties etc.
Cheers
Rick
GBA Detail Library
A collection of one thousand construction details organized by climate and house part


Replies
If you’re only adding the 2x6s for added depth for insulation, you don’t need to make them structural so you don’t need fancy connectors. You’re basically putting up really big furring strips.
If you do want the new 2x6s to share the load, then the structural connections make sense. I’d use a continuous bead of PL premium on the edge between the old and new rafters, and the flat nail splice plates at the ends and center and periodically along the length of the rafter. You need to find a way to clamp the old and new 2x6s together TIGHTLY while the glue sets.
If I was strengthening floor joists using a 2x4 on the side to make a joist into a small I beam, I’d use screws to provide the clamping force. For edgewise rafters like you’re doing, the clamping will be more complex. Maybe a few long lag screws driven to clamp the beams while you install the nail plates would be enough, once the nail plates are installed they’ll provide the holding force and the bolts could be removed.
Another option to consider is the steel strapping used for hurricane ties. This can be wrapped around the rafters and fastened on both sides. This might be your best option for midspan straps. I’d probably use a nail plate on both sides of either end of each rafter in addition to the strapping if you can’t use a double joist hanger on the ends.
Bill
Bill,
Thanks. Good stuff. I left out and will edit my question. I left out the important piece that this ceiling is to be finished and sheet rocked.
Rick
You may want to run 1x4s perpendicular to the rafters and hang the drywall from those. That will help to even out the ceiling. If you want to maximize the height of the ceiling, you’ll need to be more careful to keep the bottom edges of the rafters straight and even to avoid a wavy ceiling. 5/8” drywall will help keep the ceiling flat too.
Make sure you use nail plates on BOTH sides of BOTH ends of each rafter too, if you only put a plate on one side, there is more tendency for the two rafters to “buckle” at the joint. The glue should minimize this, but the nail plates are cheap and will help to keep things square.
Bill
I'm not a building pro, but do like finding ways to save money and reduce waste. How about ripping a cheap sheet good to make your spacers, rather than using 2x6 material for nothing more than a gap filler?
For example, rip ~8" wide strips of OSB. Attach a 2x2 or 2x3 along the bottom edge, face nailed through the OSB. So you end up with an L, 8" on the long side and the width of the lumber on the short. Then you hang each from an existing rafter by overlapping the OSB on the rafter by ~2.5" and face nailing through the side of the top edge of your new makeshift rafter extender. Hang drywall by screwing into the flange you created (the 2x material hanging from the OSB).
I think you'd end up at about 4 bucks per rafter extender, a little bit of savings over a 2x6. But I'd think the time spent ripping OSB and building these things would be saved in the super easy installation. Everything done with small nails, no extra hardware. The ~1" bay width mismatch with the width of insulation batts (if that's the route you're going) may be an issue though.