
More Building Matters


Want to learn more about building a pretty good house? Sign up for the Sustainable Building Accelerator and learn directly from author and architect Emily Mottram.
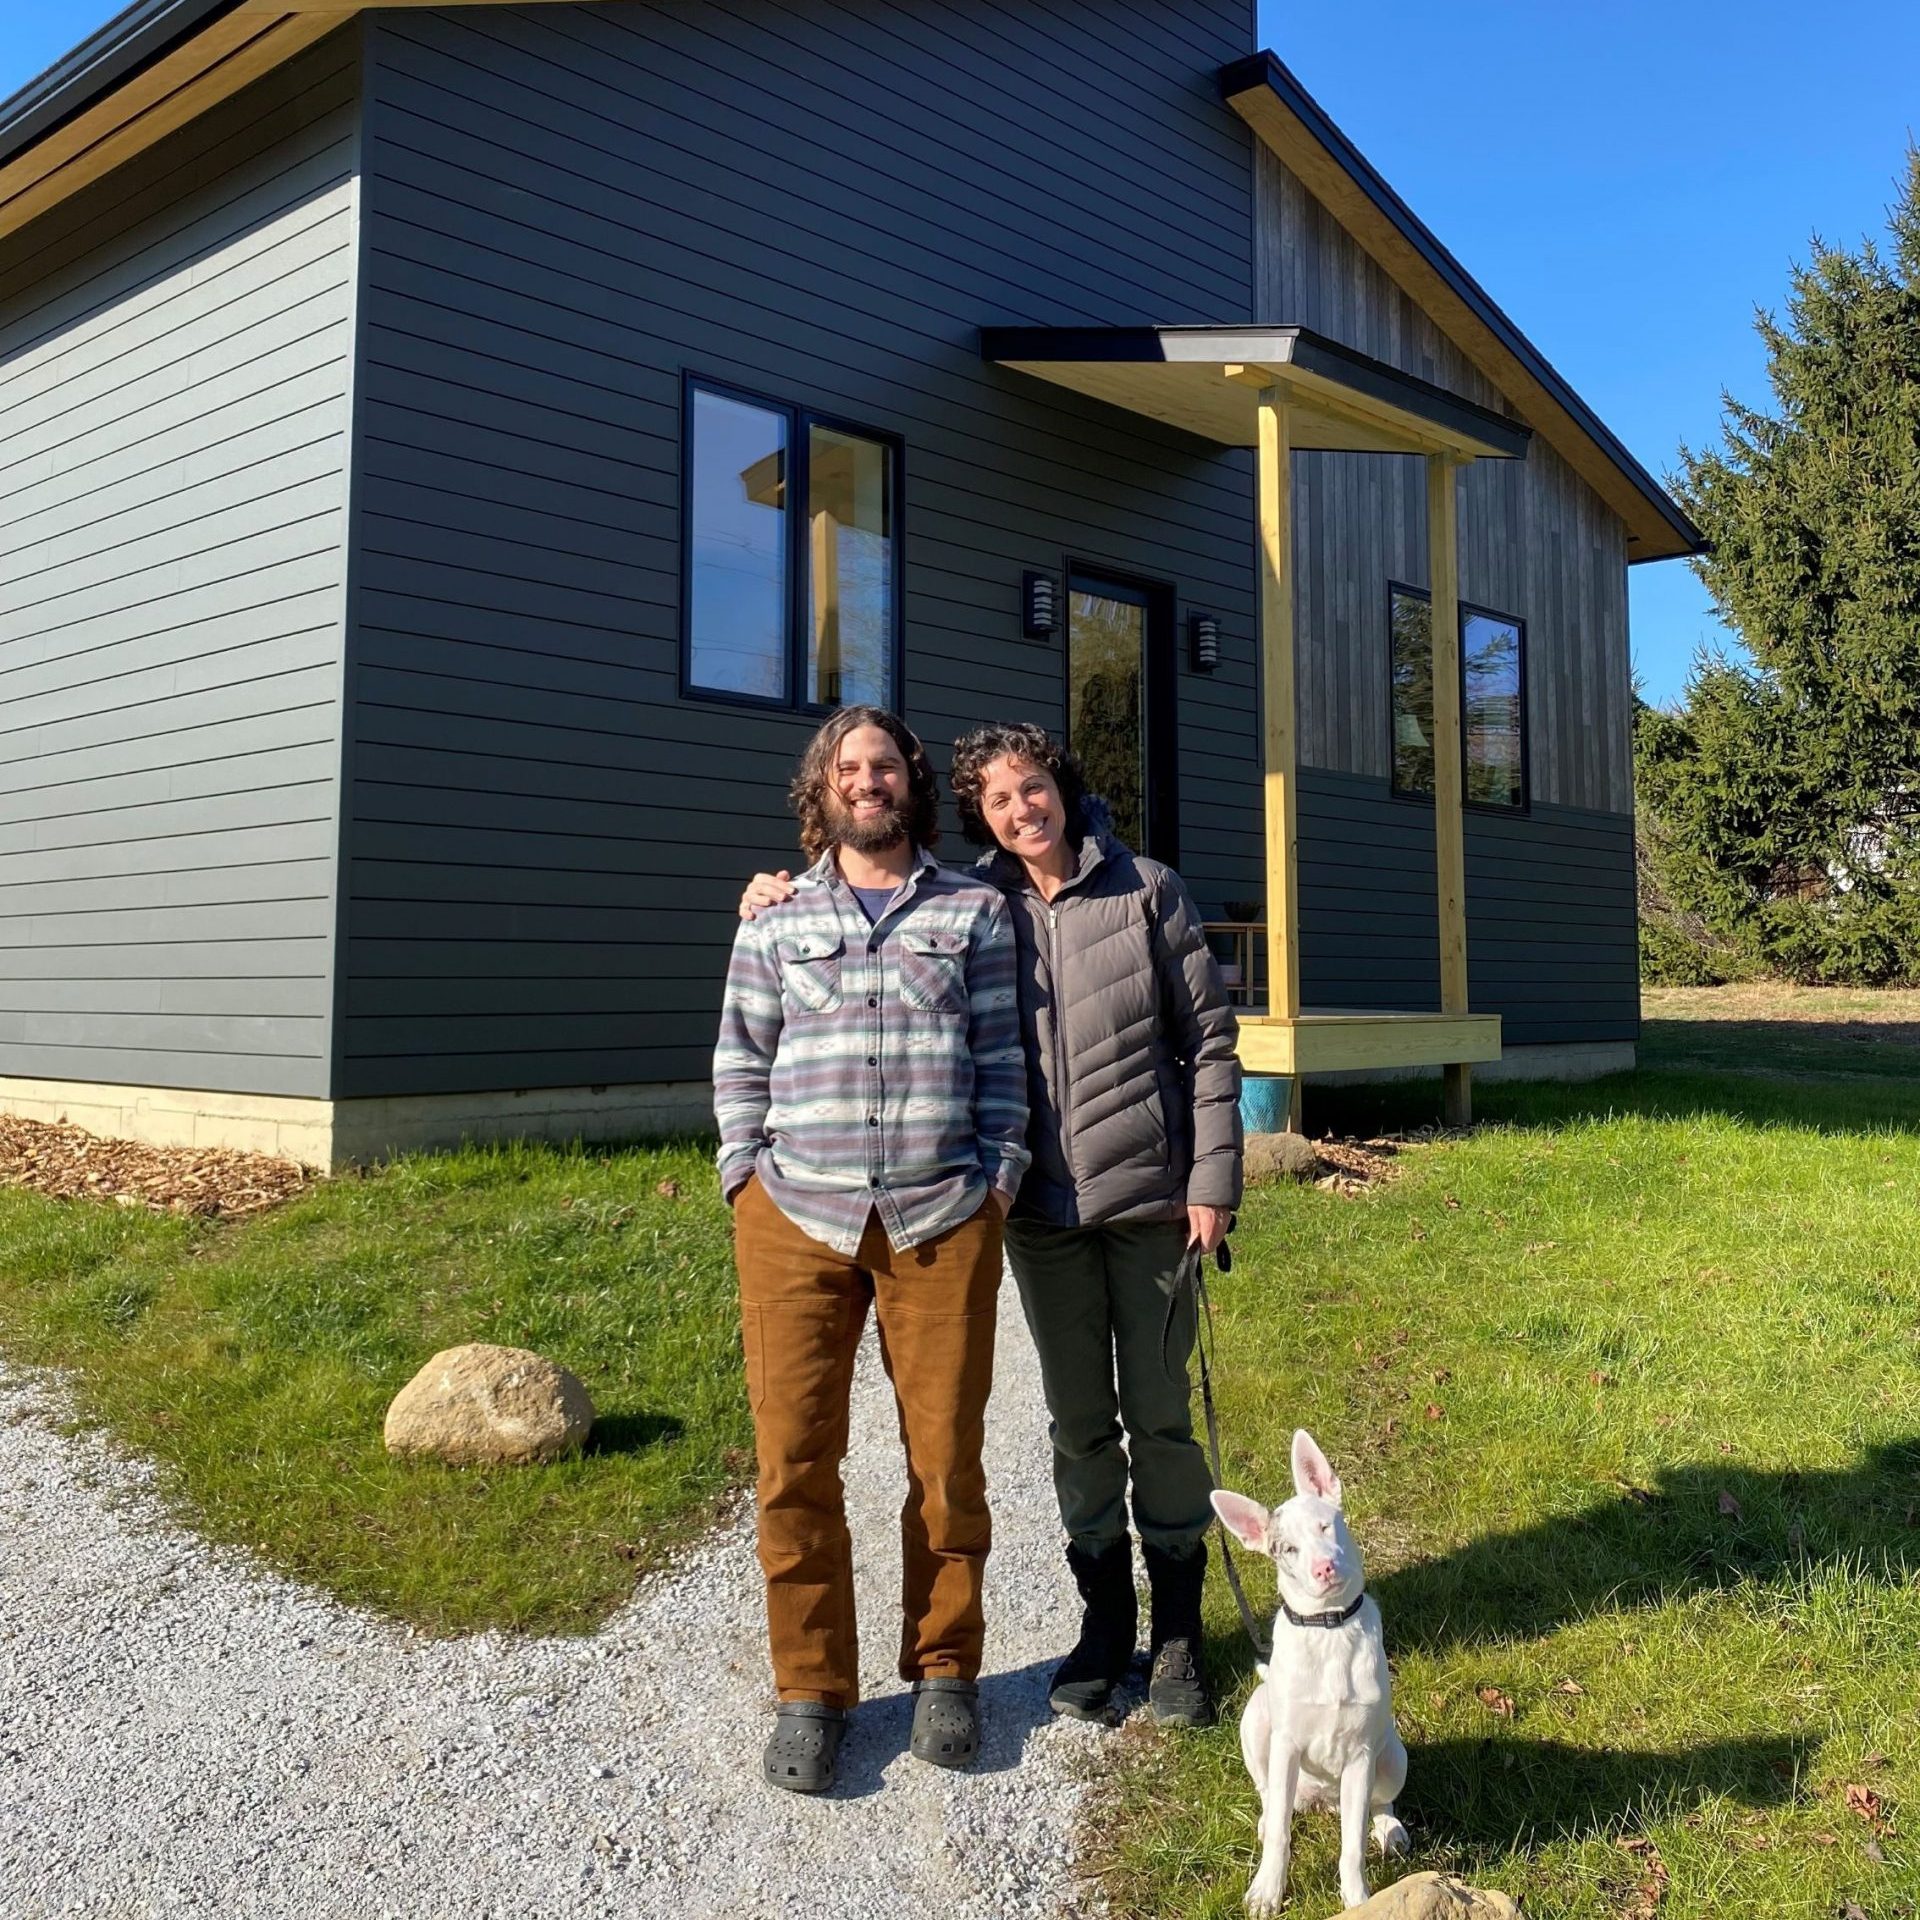
Though he landed his first job in architecture while still in high school, architect Jeff Adams’s path to designing high-performance homes wasn’t a straight line.
When his father encouraged him to get a summer job as a teenager, Jeff sent resumes to a dozen architecture firms. One of them, Line and Space, a modern architecture firm in Tucson, AZ, run by an acquaintance of his father, offered Jeff a job. At first the work was maintenance on rental properties, but eventually Jeff learned to trace sketches for presentations and to build architectural models.
After high school, Jeff studied civil engineering at Princeton, though he did his thesis on architecture and earned an architecture certificate. He then went back to work for Line and Space. They were building a 25,000 square foot home. “It was sort of over-the-top,” said Jeff, “but it also was kind of fun. I worked on site, drawing a lot of details in the field. It was an immersion into modern detailing.”
Soon, Jeff returned to school for a master’s degree in architecture, this time at UCLA. He stayed in southern California where he was a project architect at Johnston Marklee and worked on the acclaimed Hill House. But Jeff eventually had enough of the big city. When a friend recruited him to work on a communal property in northern California, he jumped on the opportunity. The move turned out to be the start of an eight-year sabbatical from conventional architecture.
After falling in love, getting married, and having a child, Jeff realized that he had “unfinished business with architecture.” He dusted off his textbooks and studied…
Weekly Newsletter
Get building science and energy efficiency advice, plus special offers, in your inbox.

This article is only available to GBA Prime Members
Sign up for a free trial and get instant access to this article as well as GBA’s complete library of premium articles and construction details.
Start Free TrialAlready a member? Log in


18 Comments
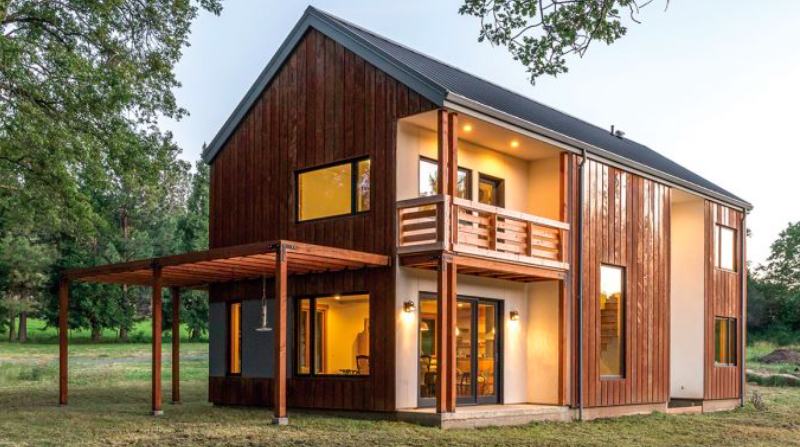
Nice report. This looks like a home that will perform very well, building specifications are impressive. Open plans when airtight will have very even temperatures from top to bottom. ACH50 of 1 or less will allow for a large convective loop to mix the air in this house. Well Done !!
Just wondering what the enclosed space is on the 2nd floor behind the shower/toilet? It is directly above what the article called an exterior closet housing the HPWH.
What a great home!
Thanks,
Aaron
Thanks for the question (and compliment), Aaron. That space is the vertical chase outside the air barrier that is referenced in the article. The idea was to provide the air volume needed for a heat pump water heater without using a lot of floor space. The upper part of the chase has a slatted floor for air to pass through. If you look closely in the montage of construction photos, you can see that this space was framed after the primary enclosure was completed.
The comm0n sense approach of the Pretty Good House movement seems to consistently yield these well designed, well performing houses. Every aspect of this house seems to make sense - without technical or spatial gymnastics. It's a model for others thinking of attempting their own builds.
It's just a nit, but I'm curious as to the decision making process behind going with only 1" of EPS at the slab edges (less than IRC code), but 4" of EPS sub slab (none required by code) in an otherwise better than code house?
https://s3.amazonaws.com/greenbuildingadvisor.s3.tauntoncloud.com/app/uploads/2019/09/26094227/Detail-View-PERIMETER-STEM-WALL.jpg
I would imagine IR imaging would show it as a hot stripe in an otherwise cold building envelope in an IR image in the depths of winter.
Thanks for the comment, Dana. This was originally limited by the structural design of the stem wall (5" minimum for anchor bolt and hold downs). However, now that I'm re-examining it, the insulation really did not need to notch the wall since the slab was covered with a finish floor throughout. Part of my learning curve on these details. I'm also remembering now that we actually ending up using 1" polyiso (left over from another job), so the R-value ended up slightly higher at the perimeter.
I was curious to see in WUFI what the effect of increasing the perimeter insulation to 2" from 1" would be and it was only a 1% decrease in the heating load (would be more significant for climate zones 5 and higher obviously).
The effect is that small partly due to the overall surface area, but also because fattening the slab edge foam doesn't fix the thermal short through the interior corner of the sill plate to the top of the exposed foundation. An inch of exterior side foam or rock wool to the above-grade stem wall would likely result in more a 1% reduction in overall load, since it it would be a more complete thermal break.
Pouring the stem walls in minimalist R16 ICFs works great as a thermal break when the framed walls use external foam of similar thickness to the ICF foam, using EPDM Z-flashing at the transition. That puts R8 between the slab edge and the foundation, and another R8 between the foundation and "The Great Outdoors". (Installing an ant & termite hardened finish to the exterior EPS becomes or a copper clad sill gasket can important in regions where the risk is high.)
Jeff Adams:
Howdy neighbor, I am building a County south of you Near HWY 49. Wondering your choice for Tyvek over Zip or something similar? It looks like your numbers are very low with the Tyvek. I plan to do the same but am toying with the idea of different WRB. Thanks.
Aaron
Hey Aaron.
I bet Jeff will be by soon to give more information, but I'll point out that the Tyvek is not the air barrier on this house. Though it may help some with air sealing, the Tyvek is primarily the water-barrier. The sheathing is detailed as the primary exterior air barrier, that means taping the seams like Jeff did (or using a fluid-applied flashing) and using caulk or sealant around the perimeter. That's a big part of how Jeff achieved such a tight house.
Hi Aaron-
If I were to do it again, I probably would have used Tyvek Drain Wrap, which assists any moisture that gets past the rigid insulation to drain downward. I didn't price Zip sheathing, but that is an option to consider as well to get the WRB and air sealing completed more quickly (more material cost, but less labor). The reason I like plywood sheathing plus Tyvek is that plywood has higher inward drying potential than OSB.
Hi Jeff
You have some very similar construction details to the plans for my own build. Is there anything you would have done differently?
Hi Alex--
Sorry for the delayed response. I intended to do it last week, but the power outage threw a wrench into a lot of our plans! We're pretty resilient and enjoyed the temporary power outage, but are happy to have the power back on.
I would have preferred to do a non-foam insulation build, but I couldn't rationalize the added cost at the time. I'm also curious about the long term aspects of using the plywood as my air barrier and directly fastening the metal cladding to it (instead of furring strips). If the metal were ever to be removed and replaced, the plywood would be peppered with holes. An interior air barrier and service cavity is an approach that makes some sense, but may be more costly to build and sequence properly (similar to my ceiling service cavity detail). As mentioned above, since I have floor coverings throughout the first floor, I could have detailed the perimeter slab insulation differently. I'm sure there are other minor details that are escaping my memory right now!
Would you rather have used mineral wool as opposed to the foam?
Sorry for the long delay in responding, Aaron. Yes, I would have preferred to use mineral wool or possibly the Gutex product that FourSeventyFive.com offers.
How is the ridge vented? I had a project where I asked the structural engineer if we could vent at the ridge and due to seismic connection requirements of the roof sheathing diaphragm he wouldn't allow it. Thanks.
Daniel,
I have seen engineers spec. strap-connectors for the opposing rafters if they have a concern.
Daniel,
Apologies for the delayed response. We simply stopped the sheathing a few inches short of the ridge line and installed two rows of blocking to maintain the gap. Strapping would be an option as well as Malcolm suggests.
Log in or become a member to post a comment.
Sign up Log in