

More Building Science


When I first started installing windows in the 1990s we were using Tyvek HomeWrap as our water resistive barrier (WRB) and made the now-infamous X-cut at our windows, folding the housewrap into the rough opening. We bedded the window flanges in caulk, taped them to the Tyvek with housewrap tape, and used canned spray foam to air seal between the window and the rough opening. We thought we were way ahead of the curve.
Maybe we were ahead of the curve; there are still plenty windows being poorly installed in houses all around the country. And maybe that isn’t such a terrible window install. But as my understanding of best practices evolved, so did the building materials that are readily available, and so did the wall assemblies of the houses I build.
Along the way I learned to use lengths of beveled siding to create a slope on the sill of the rough opening, directing water to the exterior. I added a back dam to the sill assembly too. As soon as I learned about them, I upgraded to Vycor flashing to tape the window flanges, and adopted flexible flashing tape to detail the sill pan. The latter was a game changer, and I could see that there was no need to fold the housewrap into the opening at the sill.
From there, I dropped the X-cut from my workflow and started cutting an I-shape in the housewrap to give better protection at the sides of the rough opening. Short diagonal cuts at the upper corners allowed the top window flange to slip under the housewrap, where it belongs. That detail still works when the windows are being installed in plane with the sheathing.
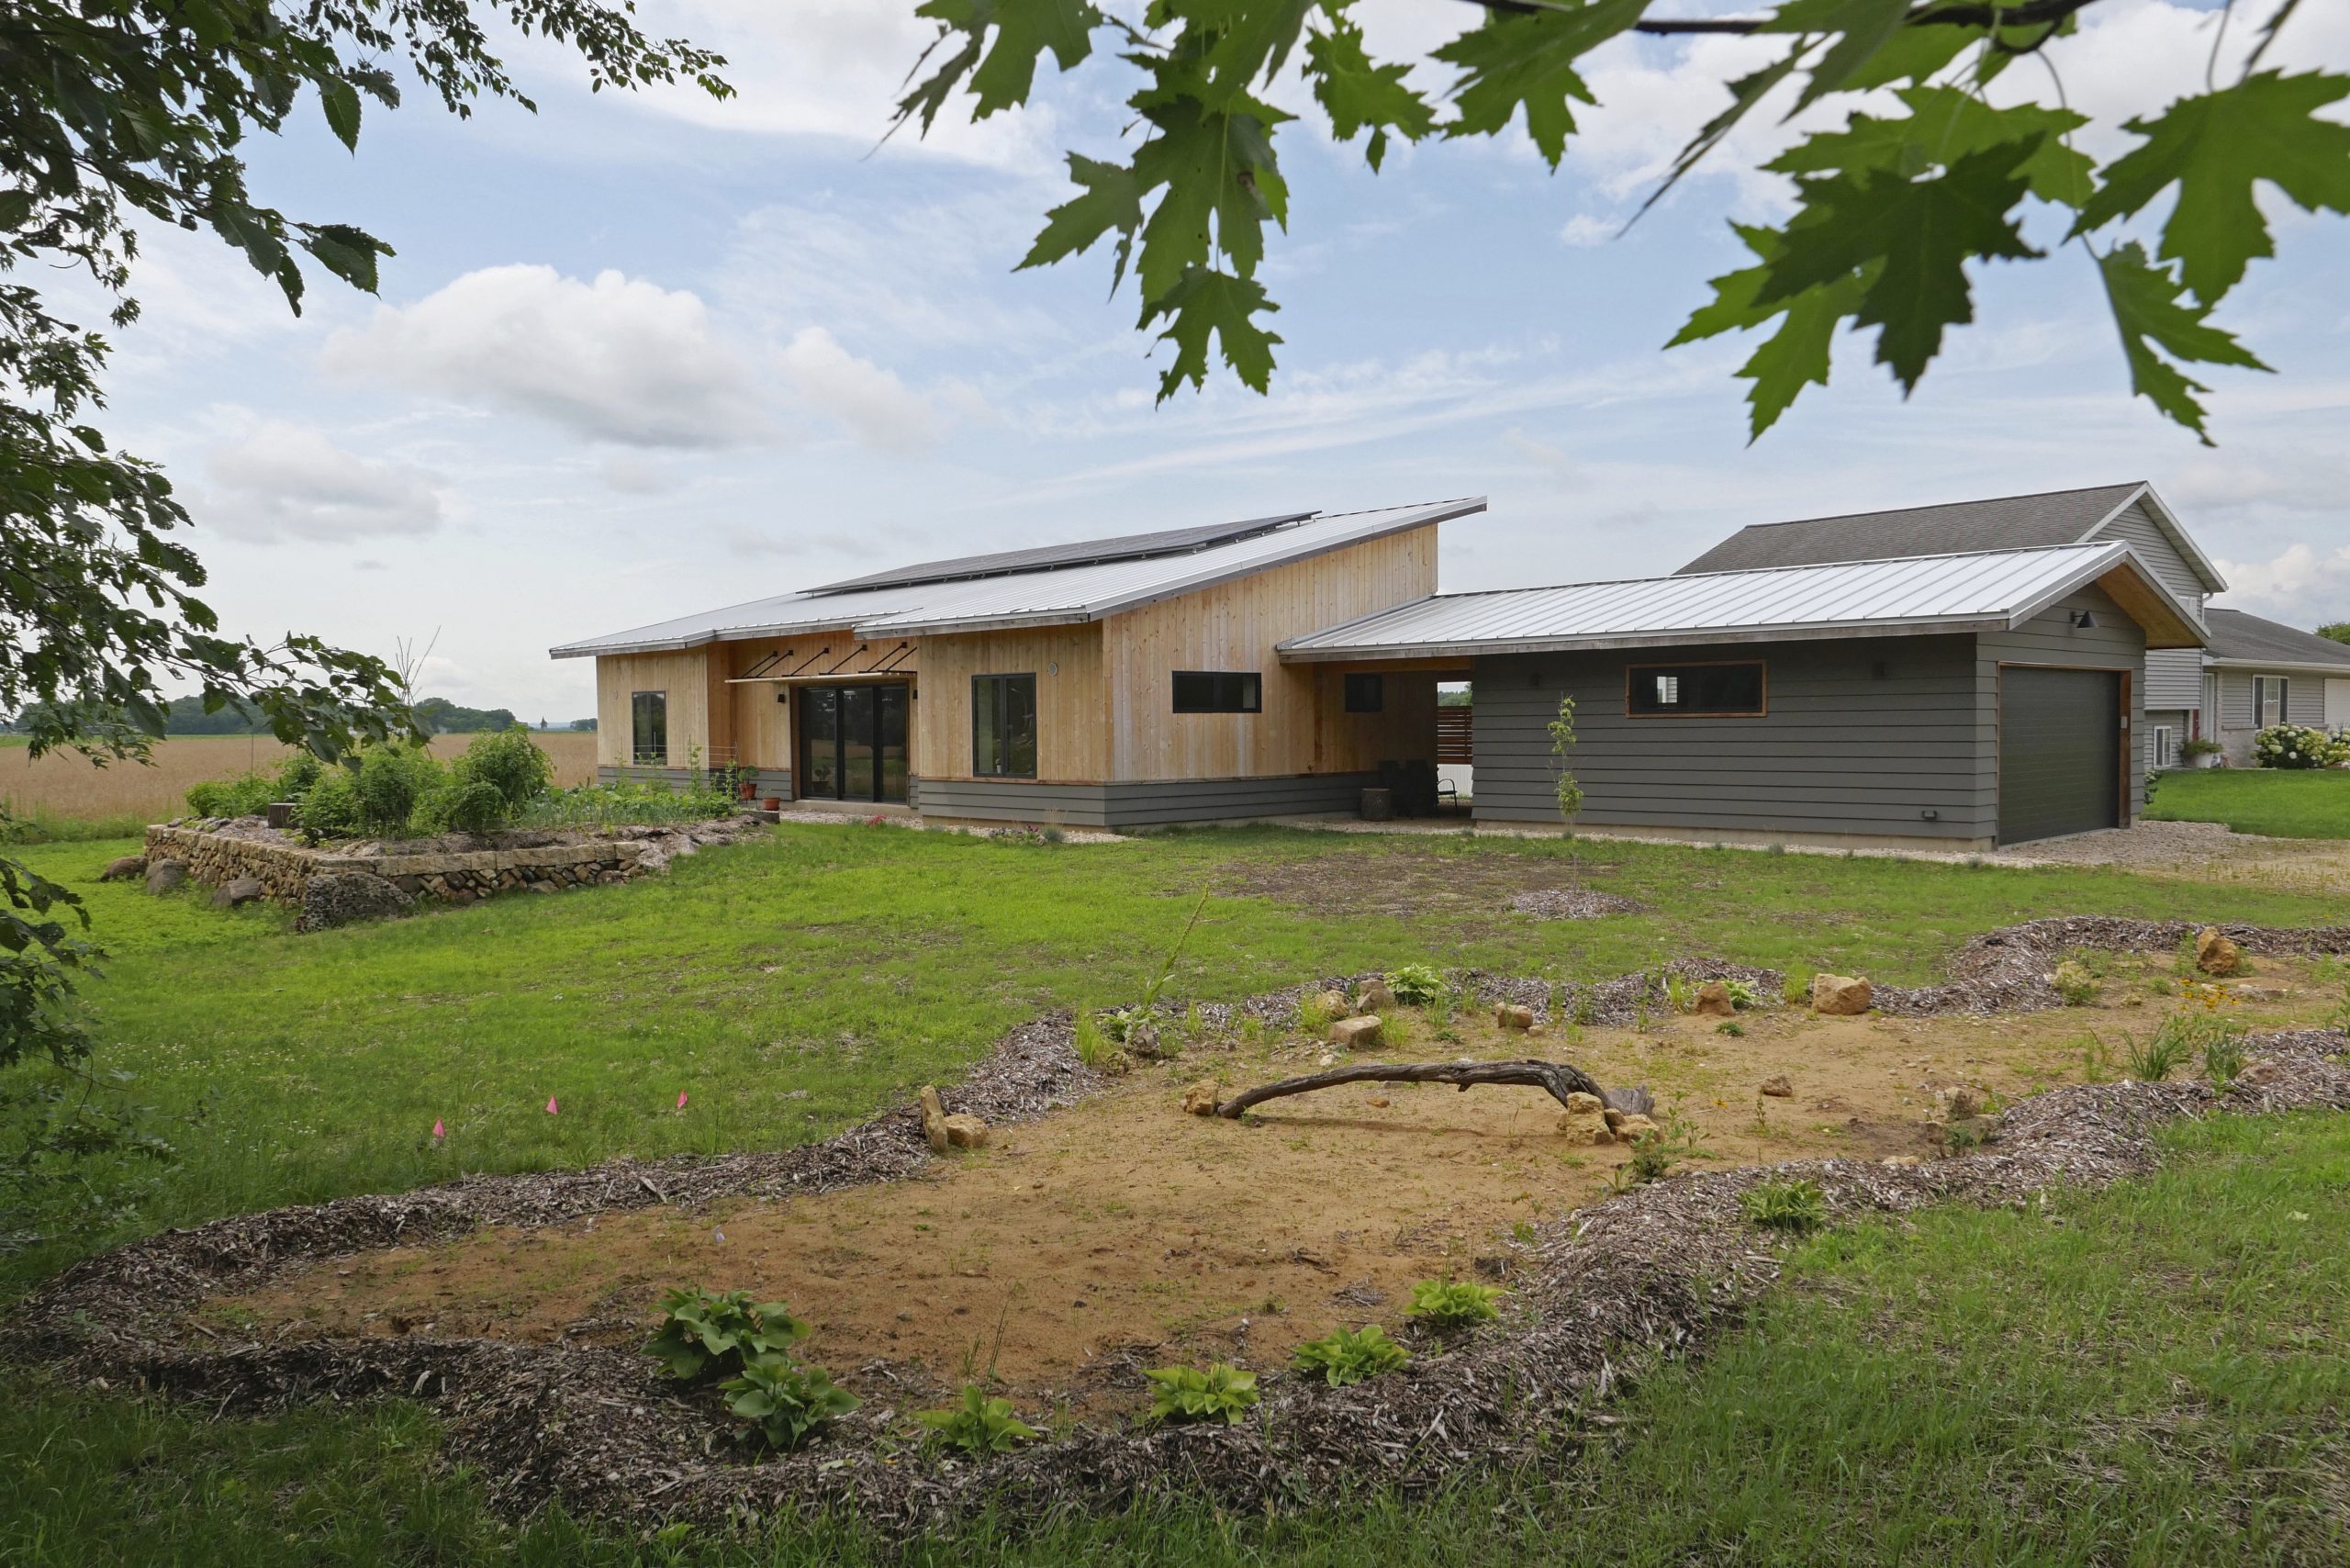
Today, most of the houses I build have a ventilated rainscreen detail, so there is…
Weekly Newsletter
Get building science and energy efficiency advice, plus special offers, in your inbox.

This article is only available to GBA Prime Members
Sign up for a free trial and get instant access to this article as well as GBA’s complete library of premium articles and construction details.
Start Free TrialAlready a member? Log in


19 Comments
I see the possibility, as architectural plans go digital on the job site, of including articles like this and videos as well being directly linked into the plans and specifications. It could be clearer then trying to draw up my own details (or in addition to the drawings) and add clarity. Ben - Make a video! or is there one already somewhere?
Hey Robert.
I'm not sure if Ben's process has been captured on video yet, but FHB’s Shop Class Series on Installing Windows covers installation in many types of walls and Jake Bruton has a solid process too.
No video on this method, yet. I live the idea of being able to digitally link details to media on a set of prints.
I’ve seen sequence details for the window installation on a full architectural sheet (once) before. While the details weren’t perfect, it was an excellent way to convey it. Isometric details also work very good.
Great piece Ben. I especially like the bevel siding installed between the sill blocks. The interior air sealing tape with no cavity insulation highlights the greater importance of air sealing when it comes to window performance.
When rain-screens were first mandated in our code here in coastal BC, builders tried a few alternatives, but most settled on installing the windows so that the flanges were attached at the sheathing plane, not outboard of the strapping. This was in part because along with rain-screens came the requirement for metal head-flashing with end dams - which meant the flashing needed to extend back behind the WRB at the sheathing plane - but also because this sets the vulnerable intersection of the flange and wall to the back of the cavity affording it more protection.
Ben's well thought out and meticulous system does a great job if you are starting with a window buck, but I'm not sure bucks are the best approach unless you have exterior insulation.
For me, window position is dictated by the architects design intent. It’s my job to make perform as a best as possible.
I’m pretty indifferent to where it is, on or in the wall, from a technical perspective. If we’re trying to give the window the best chance at success we’d be pushing them back behind the sheathing plane.
One nice benefit to being bucked our to the face of the rain screen is I only have to do extension jambs on the interior.
Ben,
I think it's pretty climate dependant too. I've got friends who build on the prairies who have no idea what I'm taking about when I describe head-flashing - and their walls d0 just fine. What would worry me here is that the window buck at the head depends on the WRB to keep any bulk water that gets into the rain-screen gap above from getting behind it. That's not something most places need to fret about.
Hey Ben,
Great article on window installs during this time of ever changing construction methods and materials.
I am working on our first double wall, cellulose filled wall and trying to get my WRB, rain screen and window flashing to come together. I, like you in this article, have the windows mounting on the exterior of the rainscreen.
I see that you have somehow gotten your WRB out and around the rainscreen at your windows. Any tips and techniques that you've found helpful to making that happen?
Thanks,
Dan
Another great, detailed article from GBA. Question, how do you reconcile the outside trim, particularly the sill with the weep holes you have created below the the frame of the window.
To that same line of question, if this window were inset within the framing, how do you approach the sill detail on the finished window?
And finally, other than permeability, why SIGA over Henry Blueskin, Benjamin Obdyke, etc?
"And finally, other than permeability, why SIGA over Henry Blueskin, Benjamin Obdyke, etc?"
Do tell.
Great article, but as a homeowner, how do you find someone who can actually do this and do it right. Looking for replacement windows but half the battle is finding someone who can do it well which is especially challenging with an old house.
Sadly, your comment could go at the end of pretty much every article on this site.
How do you adjust the method for a flangeless window? Specifically the sill detail. Do you forgo to flashing? If so, how do you deal with the bottom gap between the window and the sill on the exterior? If not, how do you attach the flashing piece? Do you leave a gap for drainage?
Steve,
You may find this useful: https://www.greenbuildingadvisor.com/article/installing-flangeless-windows.
There are several other related articles if you use the site search function which may supply additional details.
I recently read that article again. Feel a bit uneasy about using sealed taped at the bottom sill side in that approach. Was wondering if there were any others with a flangeless window...
Also curious to the point of all the sill preparation (sloping and counter shimming for level) if we end up sealing the bottom?
Steve,
I've never installed flange-less windows, but I agree. I'd be nervous relying on tape too. Hopefully one of the posters who regularly uses them will have a better solution.
Almost all the windows I detail are flangeless. What I have found that works well (proven by water and air testing per ASTM E1105 and E783 on almost all installs) is wrapping the rough openings back with the air and water controls and sealing it to the rear of the window frame with backer rod and sealant. Stickly no shims or blocking passes through this sealant joint. This allows any moisture that gets in the RO to drain to the exterior.
Excellent information. I like how you install the bevelled sill after your blocking so that your window support is level, and that you cover that blocking with your sub-sill membrane flashing. Of course this only works well if you use liquid flashing - which is usually restricted to new construction as with replacement you usually need to install the new window immediately after.
Although you arnt ‘sealing’ your sill flange, it appears your are still fully seating the sill flange against your sill (and with sandwiching in your counter flashing). Maybe I’m missing something on your photos. What I do is detail a 1/8” shim at the sill flange fastening locations so to keep a bit of a relief gap.
Log in or become a member to post a comment.
Sign up Log in