DIY Install of Dense-Packed Cellulose
Thought I’d share my recent experience dense packing cellulose in 2×6 stud bays.
As insulation contractors that do dense pack cellulose are few and far between in my area, I was pleased doing it myself with a rental machine was relatively simple and straight-forward.
I used a Krendl 425 blower, rented from my local independent building supply store for $45/day. Much of the information I used to figure out how to do it came from GBA articles, including comments on Martin Holliday’s blog post here:
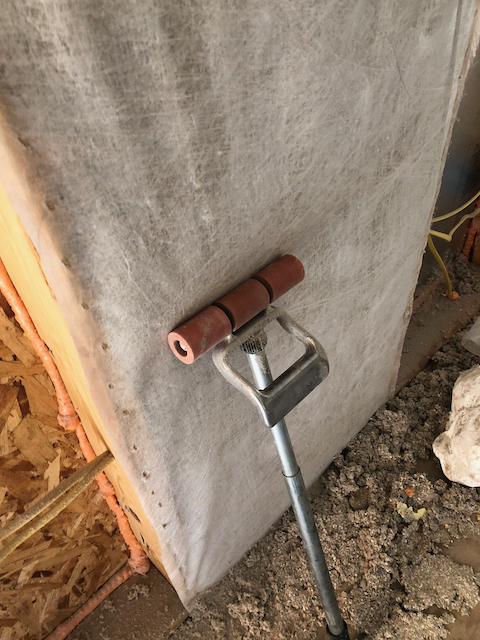
First, I stapled and glued Insulweb across the stud bays. The glue was Elmer’s, thinned with a quart of water per gallon of glue and rolled over the stapled webbing. For a blowing wand, I used 4′ of 1 1/2″ schedule 40 PVC pipe, using exhaust pipe reducers to adapt it to the 2 1/5″ hose the blower came with. As recommended, I cut the end of PVC pipe at 45 degrees, making it easy to punch a hole through the web to blow the stud bay.
The Krendl 425 blower had plenty of power to dense pack the bays to 3.5-4 lb/cf. Based on bags used and total volume filled, my final density was about 3.6 lb/cf. Fill time per bay was about 4 1/2 minutes.
The biggest difficulty I encountered was static buildup from the plastic pipe and hose, that discharged periodically causing very powerful (and painful) shocks. Tying the hose to building ground at each hose clamp helped; grounding myself with a loop of bare copper wire around my wrist and a long length of lamp wire tied back to the building ground helped even more.
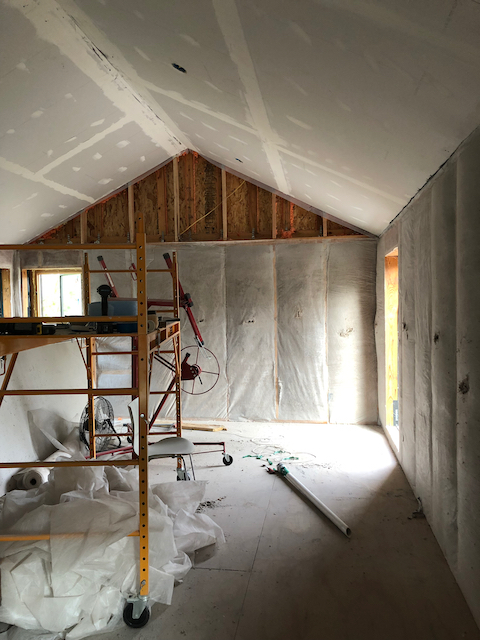
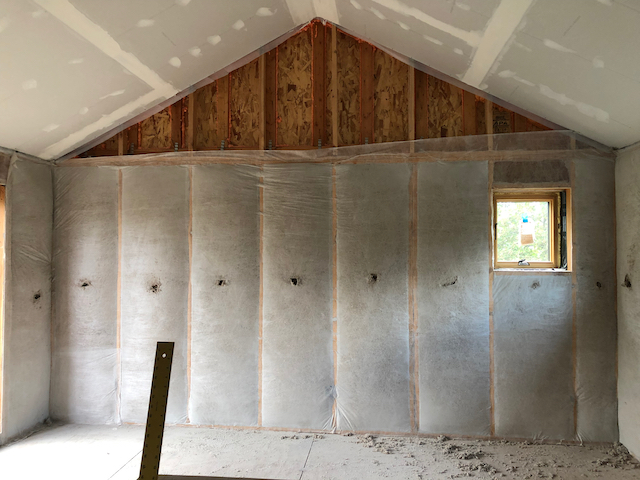
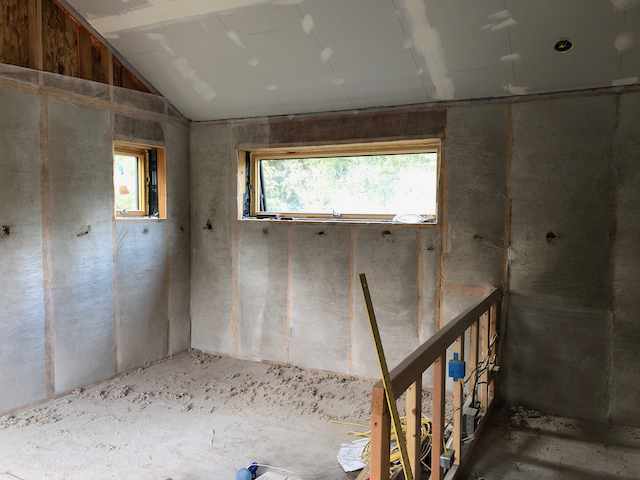
Attached are some pictures. Dense packing all the exterior walls in a 600 SF apartment took about two days, working over a weekend.
David
GBA Detail Library
A collection of one thousand construction details organized by climate and house part


Replies
ddrake,
Thanks for detailing your experience. Nicely done!
Thank you for the first-hand report.
Great report.
Can you share why you chose dense pack vs wet applied?
Did you also dense pack the gable are in the photos?
Looks like you insulated between the rafters with something else since they are already covered with gyp. What did you use there?
Hi user-5946022,
>Dense pack was pretty easy with the rental machine available in my area. Perhaps it's possible to wet apply with that machine, but I have no idea how to go about it.
>Interior gable ends are also dense packed (after the photo was taken).
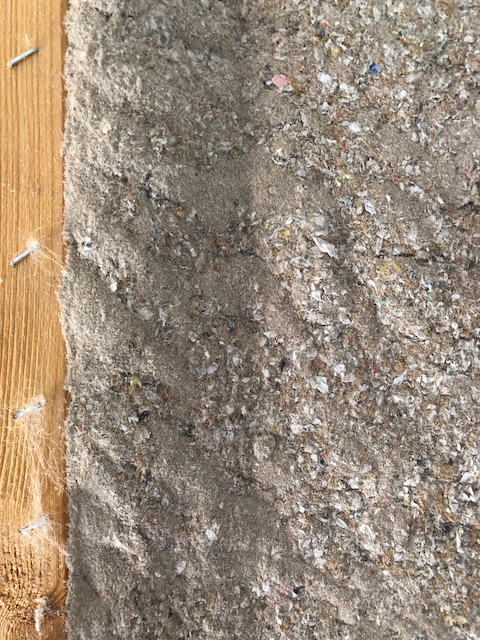
>Air tight drywall ceiling was installed before insulation was installed in either stud bays or attic. This allowed blower door testing and easy detection and sealing of any leaks found in the ceiling or sheathing. Following this, attic was insulated with 18" initial depth loose fill cellulose. Insulweb dams were stapled perpendicular to the roof trusses, in an attempt to prevent loose fill from slumping and sliding away from the ceiling peak. This may or may not work: the bottom chord of the scissor trusses is 6/12, which is a bit steeper than the consensus view of best practice with loose fill.
Why I think it's worth the risk: 1) the building is located in a fairly dry climate, with relatively small variations in humidity; 2) I've installed 4' long baffles, starting at soffit and extending along truss top chord. That should allow me to heap cellulose pretty high at the edges, and get the required insulation depth over the ceiling peak. Not very efficient, but should be effective if the Insulweb damming doesn't work.
Excellent writeup David!
For others looking to do this, make sure you get a hose with the blower has no splices, any splices will cause it to clog. Don't even think about joining sections for a long run. I even had issues with my reducer, eventually replaced it with a two step, thus effectively longer taper, which worked my better.
Blower machines are loud and it can be a floor away from where you are, next to impossible to hear someone. A simple way I've found to communicate with my helper feeding the machine is to run a length of string. Pull once to start, twice to stop.
Glad you liked it, Akos. The machine I rented did have a splice, about halfway along the 100' 2.5" hose. Fortunately, no clogs there. I did wind up with one bad clog about 20' upstream from the outlet. Eventually, I was able to clear it by taping an open-ended pneumatic air line to a long length of 3/0 aluminum cable, feeding the whole assembly into the blower hose until it reached the clog, then attaching the air line to my compressor to blast out the clog bit by bit with compressed air. Took a couple minutes, and working the line back and forth, but it did the job. The brand of cellulose I used had a fair amount of shredded plastic film in it (recycled paper and cardboard contaminated with plastic bags I suppose). That tended to form clumps from time to time that resulted in another clog at the reducer, but that was pretty easy to clear.
The string is a good idea. The blower machine I used had a remote start switch--I couldn't imagine doing the job without it. There's an audible alarm and 30 second delay when switching the machine on with the remote, so my helper had a warning to keep her hands away from the hopper.
Finally, after writing this up, I finished the job with a length of 1 1/2" flexible hose at the outlet, rather than the rigid PVC I started with. As has been pointed out on other threads, the flex hose has much less static build up than rigid PVC, and can be manipulated better in tight spots. Trade off is it takes more muscle to control the flex. My arms were noticeably more sore after using the flex hose than the rigid PVC, but the lack of explosive shocks was worth it.