
Image Credit: Illustrations courtesy of Joe B
More Q&A Spotlight


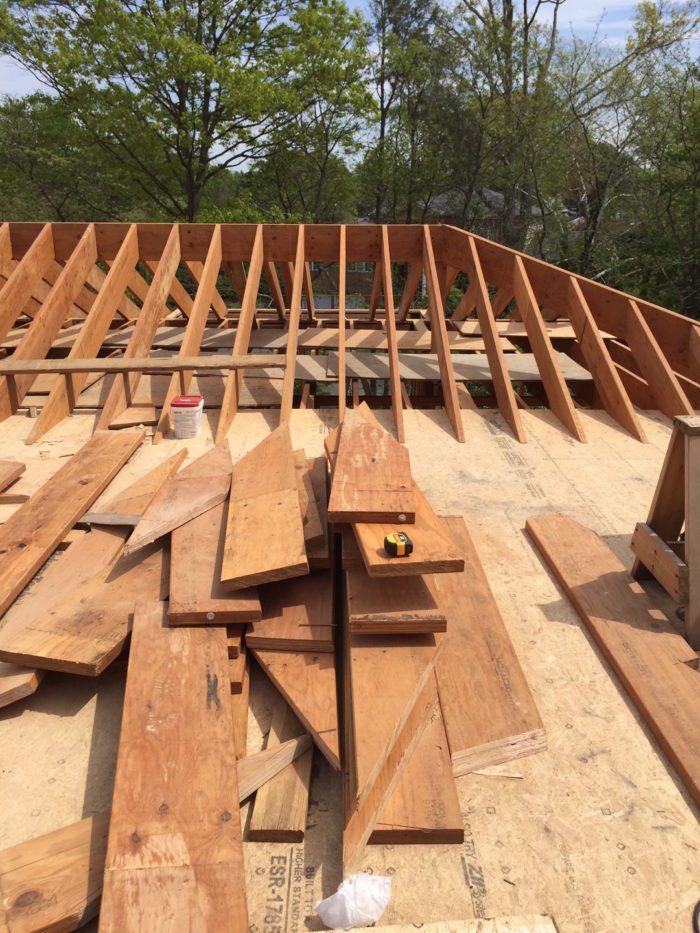
Joe B is building what he hopes will be a Passivhaus-certified home in Port Washington, New York, a town on the north shore of Long Island in Climate Zone 4. The house is well underway, but Joe worries about the potential for trouble in a very complex roof design.
In a post at GBA’s Q&A forum, Joe runs down the basics of his architect’s plans. Roughly 70% of the roof is pitched at 5-in-12, with the remaining roof area all but flat — with just enough of a slope to drain water. Three pitched sections form a U-shaped perimeter to the low-slope section, with with water draining toward the eave where it will run past a chimney (see Image #2, below).
Pitched roof sections are being framed with 11 7/8-inch laminated veneer lumber (LVL) rafters and covered with Zip sheathing.
“We are planning to spray 3 inches of closed-cell foam between the rafters and under the Zip sheathing and the balance (about 9 inches) of the rafter cavity will be filled with open-cell foam (to save on cost),” Joe writes. As required by the manufacturer, he adds, the sheathing will get a band of peel-and-stick waterproofing membrane at the perimeter of the roof, in the valleys, and at the overhangs. That will be followed with a vapor-permeable roof underlayment called Delta-Foxx, and, finally, Vermont slate shingles.
The 1,000-square-foot low-slope area consists of 3/4-inch AdvanTech sheathing over 9 1/2-inch LVLs. Beneath the roof deck will be 3 inches of closed-cell spray foam and another 6 inches of open-cell foam. The entire surface will be covered with Grace Ice & Water Shield. That will be followed by a 4-inch layer of rigid foam insulation, and another layer of tapered foam insulation that will maintain the roof pitch at 1/4 inch per foot for drainage.
The low-slope roof will…
Weekly Newsletter
Get building science and energy efficiency advice, plus special offers, in your inbox.

This article is only available to GBA Prime Members
Sign up for a free trial and get instant access to this article as well as GBA’s complete library of premium articles and construction details.
Start Free TrialAlready a member? Log in


3 Comments
Is this really a problem?
I hate to ask, and I know it's counter to the prevailing wisdom, but is this assembly really that dangerous? I recently read: "BSI-092: Doubling Down—How Come Double Vapor Barriers Work?", and it would seem that this assembly, or some similar, could work.
I'm well aware that I'm not an expert on this, so I'm not trying to disagree here so much as understand. How is this different from the described "assemblies that work"?
I do see the risk of thermal bridging showing up through the melt pattern, so I certainly see the benefits of continuous insulation, but unfortunately, after hearing all the horror stories saturated roof insulation, vapor permeable insulation under the roof deck makes me a little nervous.
Response to Christopher Welles
Christopher,
Like you, I don't think that the insulation system originally proposed by Joe B was "dangerous," and I never said it was.
Joe B posted a question on the Q&A page, asking for advice. I noted that his roof assembly didn't address thermal bridging through the rafters, and prevented moisture in the roof sheathing from drying out, so I suggested a better assembly. I still think that the assembly I proposed is better than the one that Joe B was planning to use.
When GBA readers tell me that they plan to install closed-cell foam on the underside of the roof sheathing, and a vapor-impermeable type of roofing above the roof sheathing, here's my usual advice: "Installing rigid foam above the roof sheathing is a better approach than the one you are proposing. But many people insulate as you plan to do, and these installation generally work fine -- although they do have thermal bridging through the rafters. Just make sure that the roof sheathing is bone dry on the day that the spray foam is installed, because there won't be much drying through the spray foam."
boy is that a lot of water
boy is that a lot of water dumping in that roof
don't forget a significant cricket behind the chimney
I vote EPDM[I always vote EPDM] with a minimum of a foot exposed climbing up the roof pitch and a foot behind the shingles. But I am paranoid. . Preferably all in one sheet, maybe with one short vertical seam below the chimney[you can use it to take up the slack created by the cricket and thus avoid a vertical seam above the chimney
Foam right under the EPDM is a standard install. They make tapered for the edges, to keep your fascia slim
actually looking at it again, 2 pieces one from roof edge to the uphill side of the chimney, the other overlapping that one heading upward, no vertical seams. You could also hip roof the flat roof foam below the chimney to maximize foam above the roof and still have a consistent slim fascia
Log in or become a member to post a comment.
Sign up Log in