
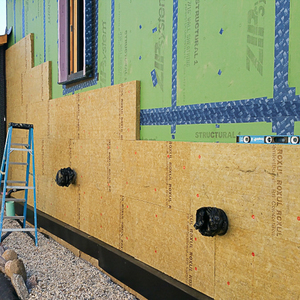
Step flashing a roof to a wall with continuous exterior insulation requires a decision: Do you bring the step flashing back to the structural wall sheathing behind the continuous exterior insulation? Do you flash to the face of the continuous exterior insulation? Or do you install flashing at both layers?
There’s more than one approach that can work and a lot depends on where the water control layer, the water-resistive barrier (WRB) is—behind the continuous exterior insulation or on the face of the continuous exterior insulation. The sequence of the work plays a part too. Is the continuous exterior insulation applied before the roofing is installed or after the roofing is installed? Then there’s the question, “What about re-roofing in the future?”
Here are three approaches I’ve used:
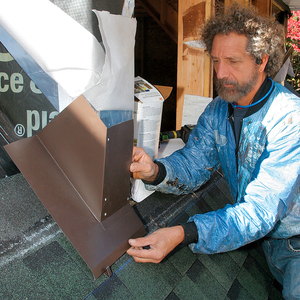
- Step flashing directly behind the siding with the rainscreen space behind the flashing.
- Step flashing to the face of the exterior insulation with the rainscreen space over the flashing.
- Counterflashing flashed back to the surface of the exterior insulation with the rainscreen space over the counterflashing leg and step flashings tucked under the counterflashing.
Each approach begins with continuous flashing tape
Whichever route you choose to take, the first step is the same: protecting the roof-to-wall intersection with peel-and-stick flashing.
Before anything else is done, a kickout flashing with 5 inch to 6 inch wall and roof legs is installed. This flashing would go over the ice barrier membrane (click here for how to install a kickout flashing). Then an 18 inch-wide strip of self-adhering, self-sealing flashing tape is applied 6 inch on the wall and 12 inch out onto the surface of the roof: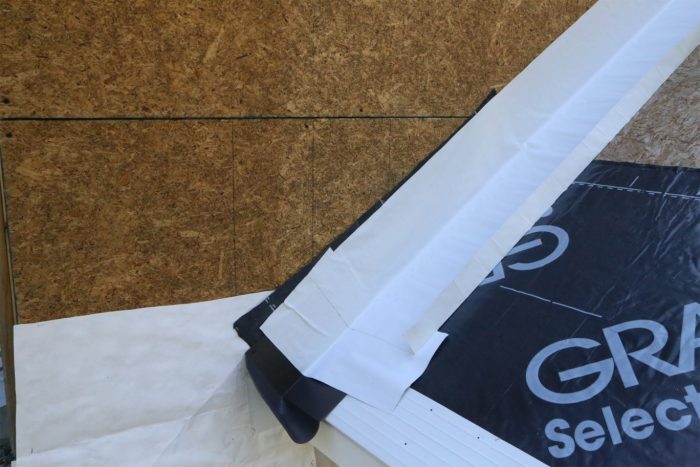
A 2 inch strip of the release sheet is left along the roof leg of the flashing to lap together with the roof underlayment. The underlayment is bonded…
Weekly Newsletter
Get building science and energy efficiency advice, plus special offers, in your inbox.

This article is only available to GBA Prime Members
Sign up for a free trial and get instant access to this article as well as GBA’s complete library of premium articles and construction details.
Start Free TrialAlready a member? Log in





One Comment
I find parts of all three methods a bit puzzling.
1.
- If you are installing the step-flashing in front of the rain-screen cavity, what benefit is there to including a vent-strip behind? Is it just backing?
- "Any water that gets behind the siding will drain freely" It can, but it is relying on the flashing tape - something typically included as a back-up, not primary protection. All horizontal flashing on rain-screens at the base and all penetrations needs to extend behind the WRB. This option would not meet our code.
2.
- If the only downside to this option is that the step-flashing can not be removed or replaced because of the vent-strip, why not just move the vent-strip up above the vertical leg of the flashing? Once that's done, the step-flashing is easier to remove or replace that option #1.
3.
- Counter-flashing is a great option, but why include the foam-strip behind or large step in the flashing? The same detail works with a piece of flat flashing with a 1/4" step and hemmed bottom edge.
- Another approach that also works is to substitute a water-table at the bottom of the siding, which can be removed when re-roofing.
Log in or become a member to post a comment.
Sign up Log in