
More Guest Blogs


When it was time to schedule our blower door test, I looked online and found Anthony from Building Energy Experts. He was able to come out and do a blower door test for us, helping me hunt down a couple of small leaks. We ended up at 0.34 ach50 for this initial test.
This Hammer & Hand video explains some of the basics of a blower door test. All of the Hammer & Hand videos, along with its Best Practices Manual, were incredibly helpful as we tried to figure out all the Passive House details related to our build. It’s no exaggeration to say that without Hammer & Hand, the Green Building Advisor website, Building Science Corporation, and 475 High Performance Building Supply, our build would’ve been impossible to accomplish on our own. I owe an incredible debt of gratitude to all of these great resources.
Because of one Hammer & Hand video on the importance of properly detailing corners to avoid air leaks, I sealed all of the corners of my windows and doors so they looked like the photo below.
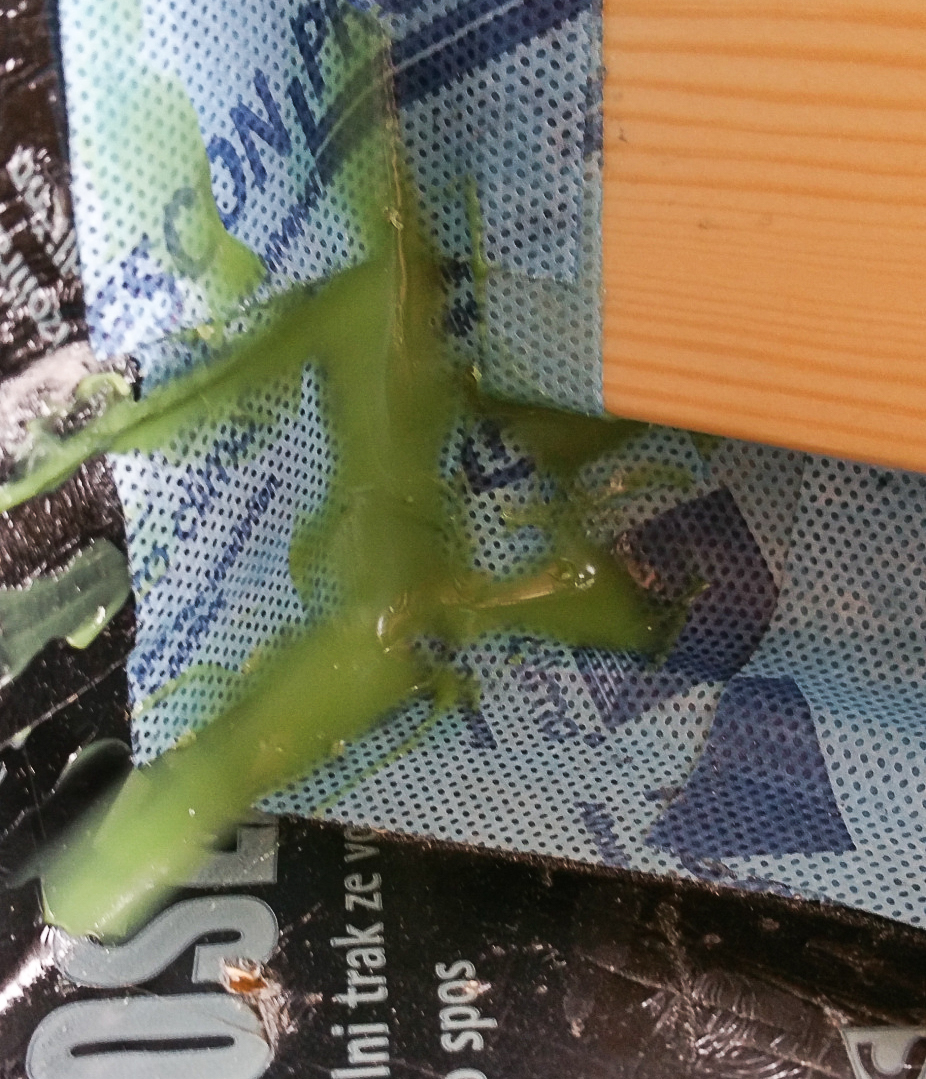
I also added some HF sealant to the lower portion of the windows, since some air leakage showed up where components of the window itself come together in a seam. Where components come together is often an area that needs special or further attention.
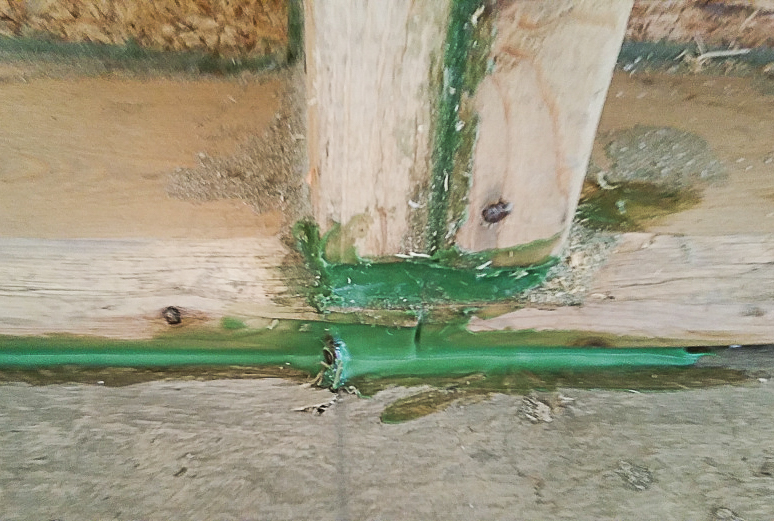
Even with layers of redundancy in place, in the picture below there was a small air leak still present at the connection between the bottom plate and the subfloor. A bead of HF sealant took care of the problem.
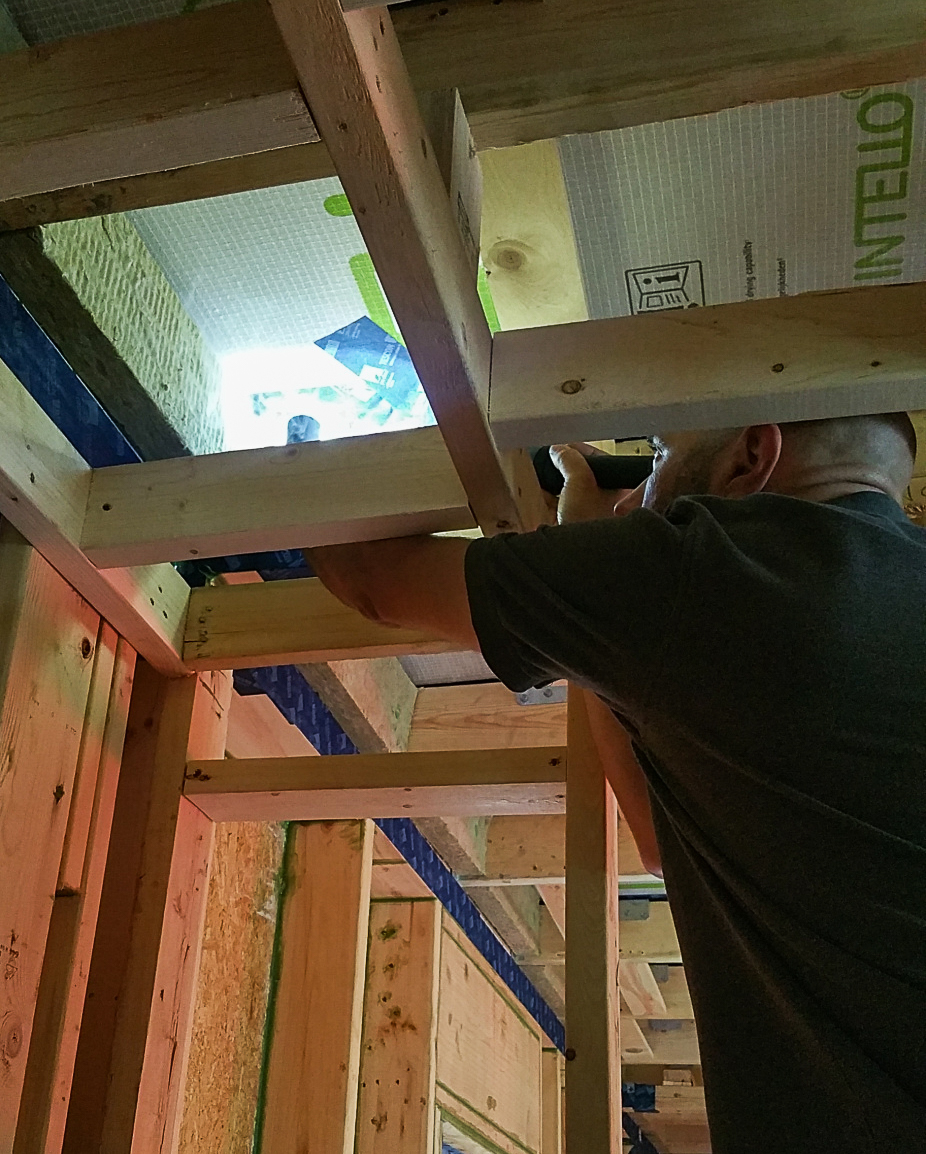
Once the stud bays were insulated (after most of the siding was up), the interior walls would eventually be covered with Intello, adding yet another layer of protection against air intrusion. (I’ll cover the details of the Intello installation in a future post on interior insulation.)
Anthony didn’t have any previous experience with a Passive House build, so it occurred to me that it might be beneficial to reach out to Floris Buisman, 475 High Performance Building Supply’s CEO who had done a WUFI analysis for us, and Mike Conners from Kenwood Property Development to see if there was someone locally who did. Mike is a Passive House builder in Chicago who had already helped me out with some Rockwool insulation when we came up short earlier in our project (the two GC’s we fired repeatedly struggled with basic math), and he was very nice to take the time to answer some other technical questions for me as well.
Both, as it turned out, recommended that I contact Steve Marchese from the Association for Energy Affordability.
Steve would eventually make three trips to the house: an initial blower door test after the structure was weather-tight and all the necessary penetrations had been made through our air barrier; a second test after exterior continuous insulation was installed; and a final test after drywall was up to ensure there hadn’t been any increase in air leakage during the final stages of construction.
Following test protocols
Following Passive House principles for our build, we also followed the same protocols for the blower door tests: Blower Door Protocol.
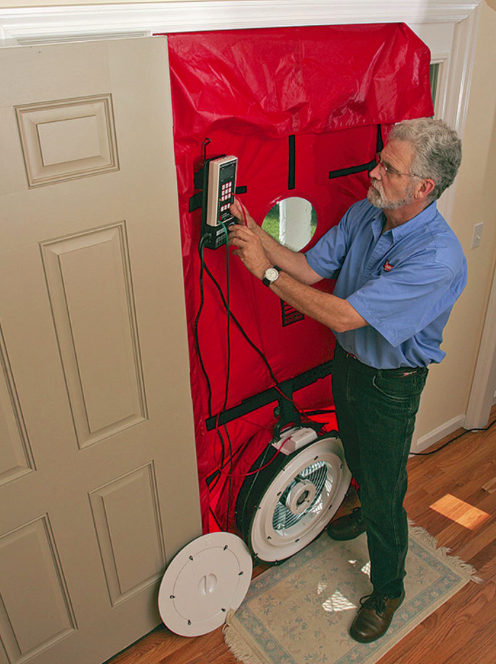
With the structure under pressure from the blower door fan, Steve and I walked around the house while he used a small smoke machine in order to find any leaks that I could then seal up.

The gaskets around our windows and doors proved to be some of the weakest areas in the house although, comparatively speaking, it was inconsequential since the overall airtightness of the structure was fairly robust (favorite word of architects).
Steve showed me the impact a window in the unlocked position can have on airtightness. When compressed in the locked position, the gasket forms a tight seal between the sash and the frame.
Small irregularities can make a difference. Even though no substantial air leakage showed up around our kitchen door during our first winter, this same door eventually had ice form outside at the upper corner by the hinges on the exposed surface of the gasket where the door meets the frame. After figuring out how to adjust the door hinges, there was no ice showing up this winter, not even during our Polar Vortex event in late January.
Much the same thing occurred around our front door as well, with the same solution — adjusting the hinges to get a tighter fit at the gasket between the door and the frame eliminated the problem.
Steve was nice enough to go around and methodically check all the penetrations in the structure.
There was one area in the guest bathroom where the Intello membrane in the ceiling ended up getting slightly wrinkled in a corner during installation. With Tescon Vana and some HF sealant I was able to address it so nothing, thankfully, showed up during the smoke test.
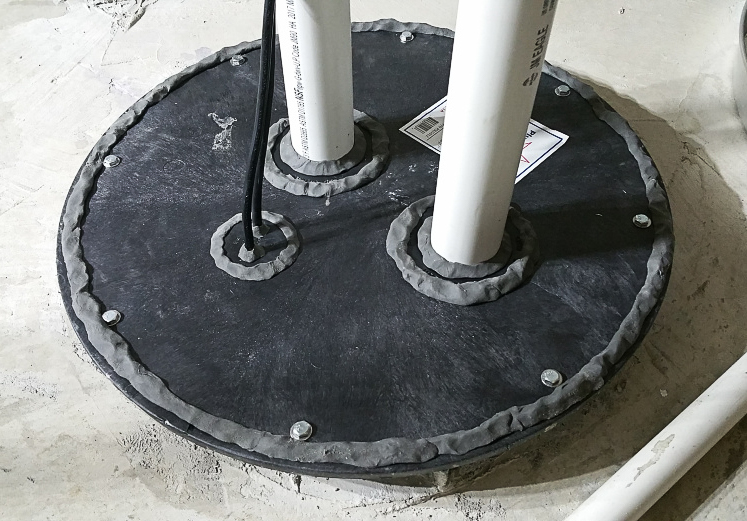
After looking around on the main floor, Steve moved down into the basement. He checked for leaks at the main electrical panel where the conduit exists the house, around the sump pit lid, and where the pipes from the Zehnder ERV exited the structure.
The lids for the sump pit and the ejector pit were eventually sealed with duct seal putty and some Prosoco Air Dam, as shown in the photo below.
Final results
Here’s a copy of Steve’s blower door test results. (He was mistaken on one detail: the report shows that drywall had not been installed in February although it had.) For the last two tests Steve used a smaller duct blaster fan in order to try and get a more precise reading for air leakage, using a technique explained in this article from The Journal of Light Construction.
Steve would be back two more times — once before drywall, and once after drywall — just to ensure we had no loss of airtightness develop in the interim stages of the build (especially after continuous exterior insulation with furring strips were installed).
Results from the first test were 0.21 ach50, 111 cfm@50. For the second test, he got 0.2047 ach50, 108 cfm@50, and for the third and final test, the figures were 0.20 ach50 and 106 cfm50.
We are well below Passive House requirements (both PHI and PHIUS), so there was a great sense of relief knowing that all the time and effort put into air sealing had paid off, giving us the tight shell we were looking for. Even so, it was still pretty exciting news, especially for a first build.
And here’s an interesting article by 475 High Performance Building Supply regarding the debate over how airtightness is calculated for PHI vs. PHIUS projects, and the potential ramifications: Not Airtight.
Other posts by Eric Whetzel:
- Choosing and Installing a Ductless Minisplit
- Installing an ERV
- Choosing Windows
- Attic Insulation
- Installing an Airtight Attic Hatch
- Air Sealing the Exterior Sheathing
- Installing a Solar Electric System
- Prepping for a Basement Slab
- Building a Service Core
- Air Sealing the Attic Floor
- Ventilation Baffles
- Up on the Roof
- A Light Down Below
- Kneewalls, Subfloor and Exterior Walls
- Let the Framing Begin
- Details for an Insulated Foundation
- The Cedar Siding is Here — Let’s Burn It
- An Introduction to a New Passive House Project
Weekly Newsletter
Get building science and energy efficiency advice, plus special offers, in your inbox.


8 Comments
Great result Eric - although I suspected it would be low given the air-sealing I've seen in your previous blogs.
Just out of curiosity: is this level of meticulousness something this project brought out in you, or is it an attribute you use in your regular job?
Thanks Malcolm! And thanks for taking time out of your day to post answers to questions here on GBA --- I know you've replied to a few of my questions over the last couple of years.
I've always enjoyed working through details, so whether it was doing research for Passive House and building science details, or figuring out our floorplan, or interior design choices, building our house was easily one of the most deeply fulfilling things I've ever done. Because of the two companies we tried to work with early on as our GC it was also, unfortunately, one of the worst experiences of my life.
I've been a mostly stay-at-home dad since my daughter was born almost 9 years ago. Now that she's getting older and the house is mostly done (landscaping the yard is the current obsession), I'll try to get involved in green building projects somehow, maybe by getting certified as a Passive House consultant, I'm not really sure yet. I'm also interested in permaculture, so I may look into getting certified in that as well.
If I could do things over, I'd probably skip college (I was an English major) and do rough carpentry out of high school as a way to get into construction/green building. At that time, back in the late 80's, construction wasn't presented to us as a viable career option, which was a shame. The assumption, at least at my high school, was that college was the only real option.
Cheers Eric! It's a pleasure reading about y0ur build.
Answering questions is as useful to me as it is to whoever posts them. It forces me to think about things clearly, and think about things that I have never put my mind to directly.
Eric, I really enjoy your blog posts. The level of detail you have put into the writing (and the project) is impressive. I will be referring back to them when it comes time to do our build.
Thanks John!
It's nice to hear that you're finding the posts helpful.
Good luck with your build!
I echo John’s comments, and I too have bookmarked several of your posts to refer back to during our build.
Great results! All that meticulous detailing paid off nicely!
Thanks Lance!
It really does mean a lot to hear that people are enjoying the blog.
Although it's time consuming, the goal for the blog was to try and make life a little bit easier for others who are building "green", so it's really nice to hear that people are using it as a resource as they build their own homes.
Good luck with your project!
Folks often thinks windows are the worst energy leak in old buildings. Although window replacement companies promise huge energy savings, they don't address the life of their windows. Restoring and weatherizing old wood or steel windows creates windows which can be more energy efficient and last 2-4 times as long as replacement windows. Replacement windows might be better described as disposable windows which must be replaced over and over.
A report produced by the Preservation Green Lab, a project of the National Trust for Historic Preservation, offers insight for homeowners weighing the financial and energy tradeoffs between replacing or repairing older, less efficient windows. https://forum.savingplaces.org/connect/community-home/librarydocuments/viewdocument?DocumentKey=59eab0e4-f0f4-45c5-97c8-147a8def82ae&CommunityKey=00000000-0000-0000-0000-000000000000&tab=librarydocuments
Log in or create an account to post a comment.
Sign up Log in